
Speedhunters, I want you to meet my friend Joe. We happen to be neighbors but we’re also kindred spirits, both owning customized classic American vehicles.
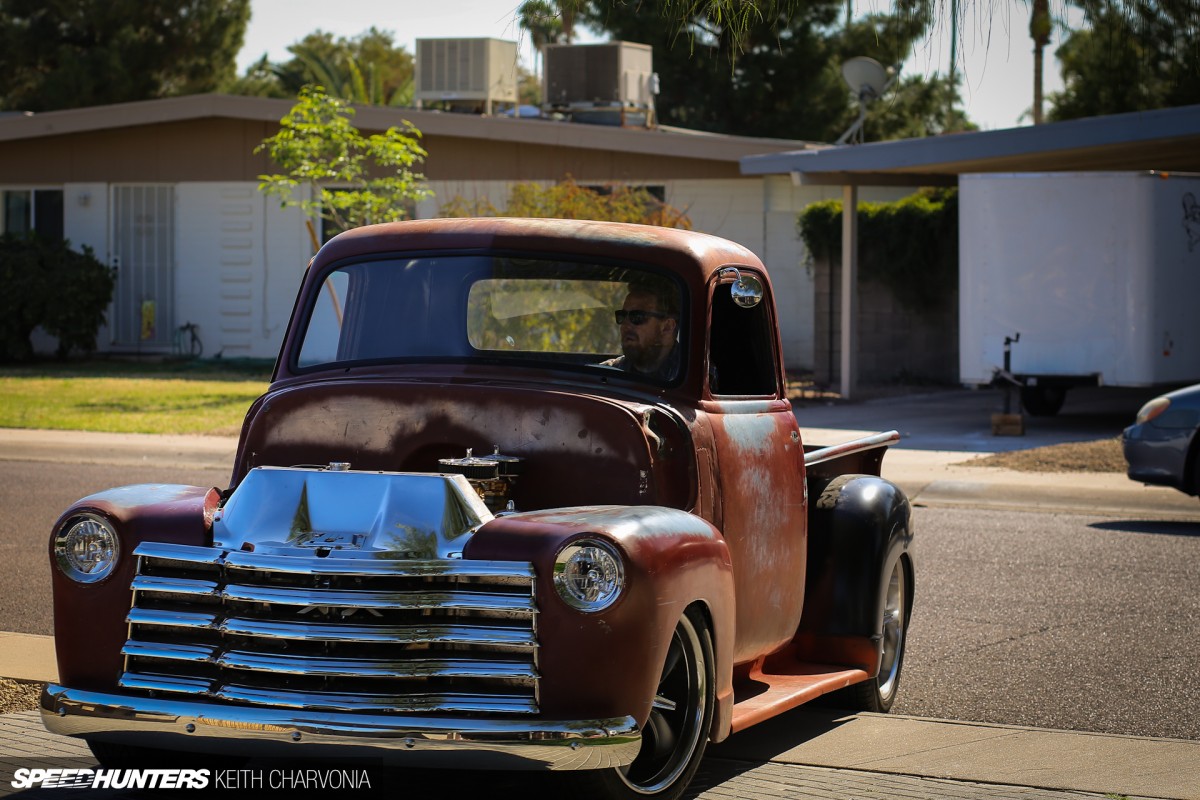
He’s into hot rods and bikes, and this is his ’49 Chevy truck. Joe’s truck is about halfway done according to my calculations, and he’s gotten this far with just his checkbook, to be brutally honest.
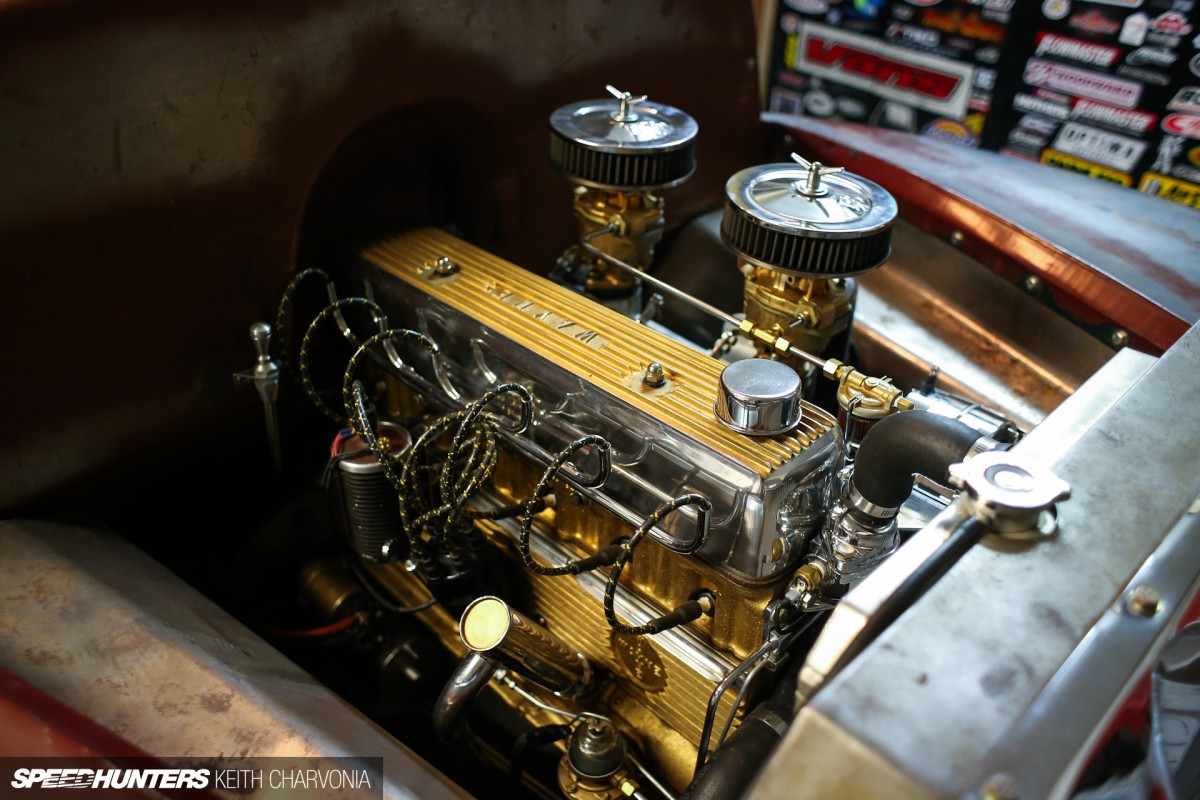
He’s put together a pretty nice truck so far, with a killer 235ci straight six sitting in a completely custom-built chassis from Total Cost Involved. He’s at the point where he needs to learn to do things himself if he’s going to finish this thing without going broke though.
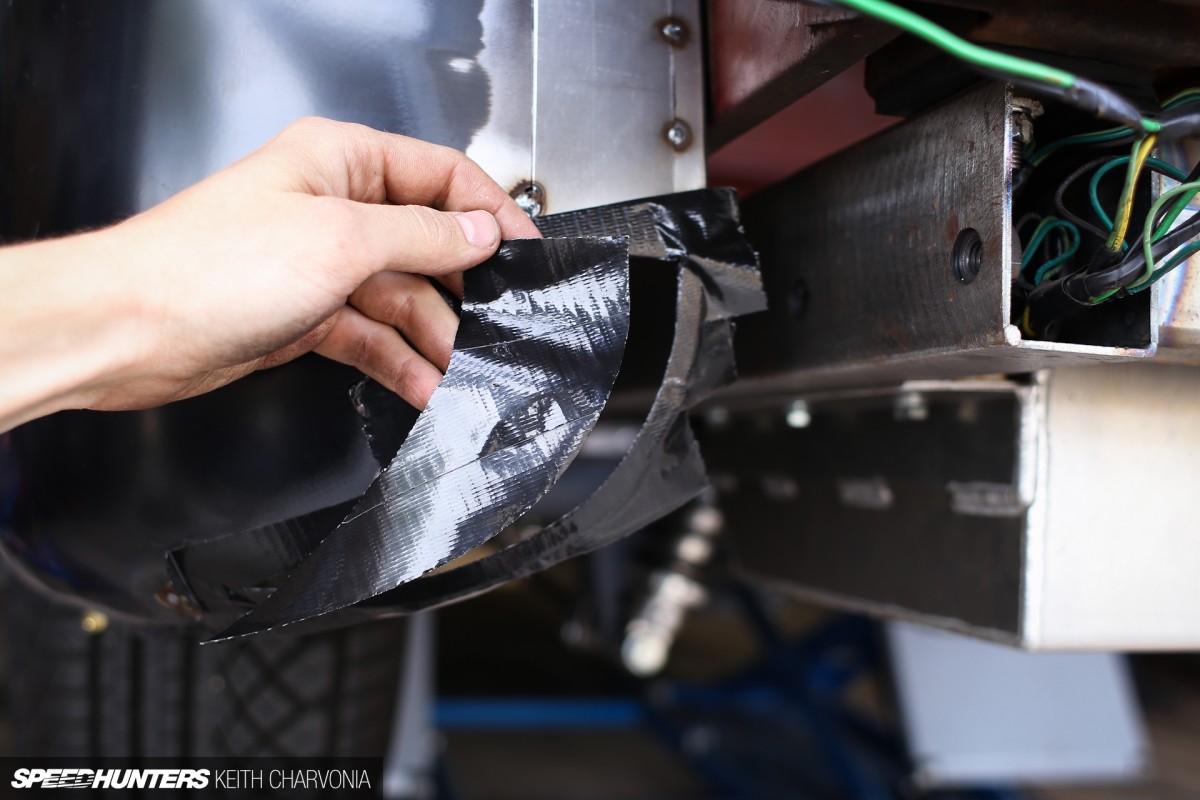
The first time I met Joe, I noticed something funny about the rear fenders on his pickup. Since he can’t weld, he spaced them out with chunks of wood until he could find someone to widen them for him. I think it’s time we fix that.
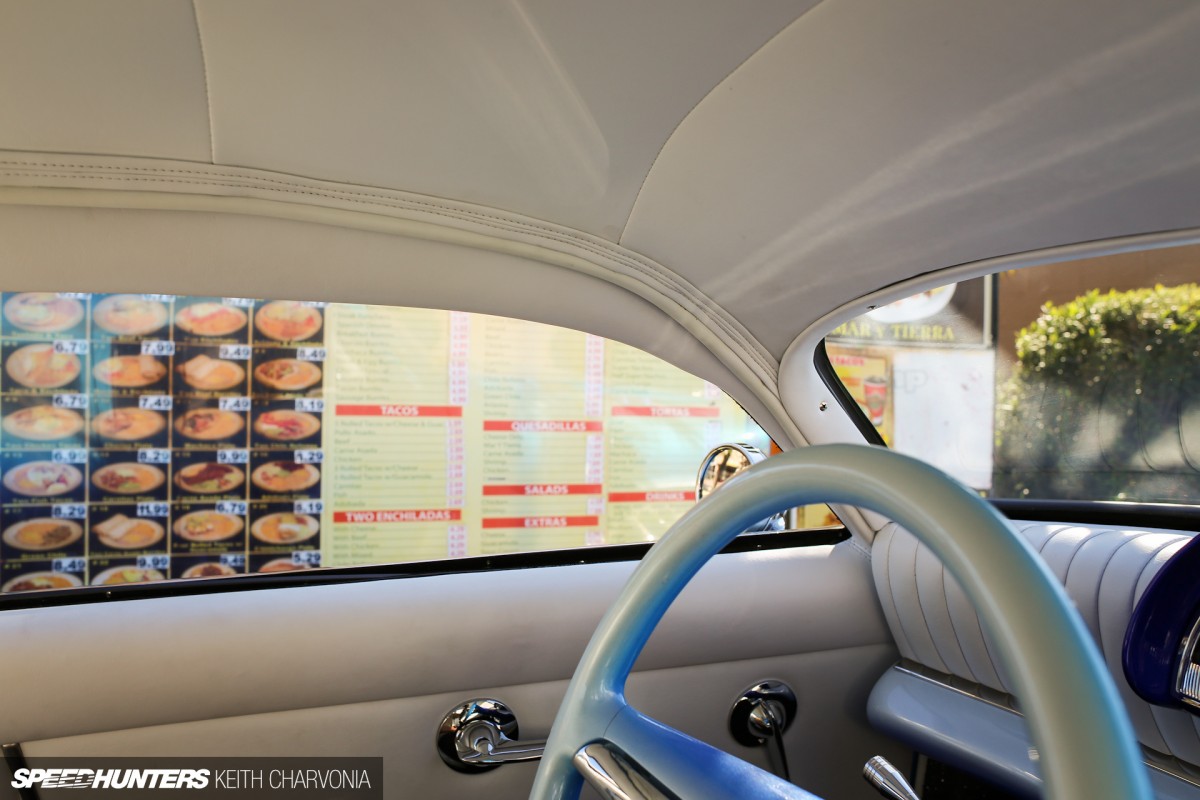
Last Saturday started out like this. Since I had to move the Kaiser out of the garage anyway, I figured why not take it on a breakfast burrito run?
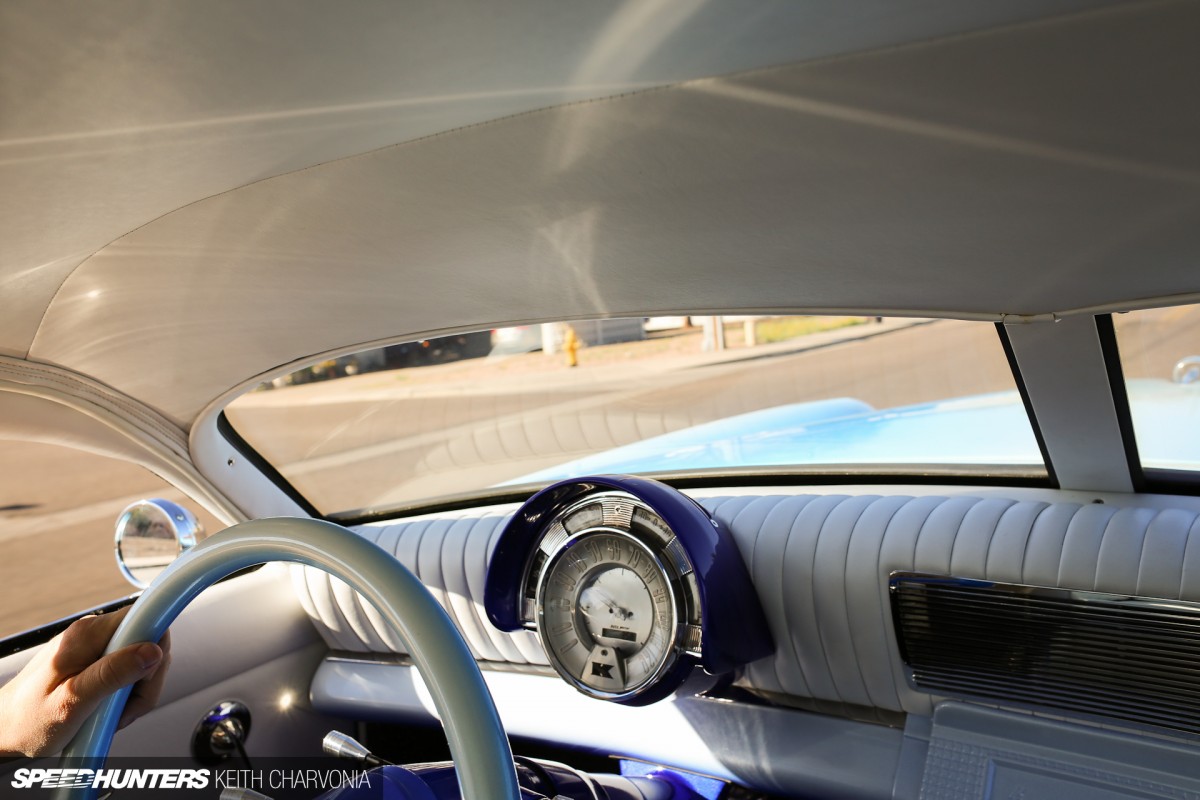
It’s nice to blow the cobwebs out of the tailpipe, plus it’s good for the soul.
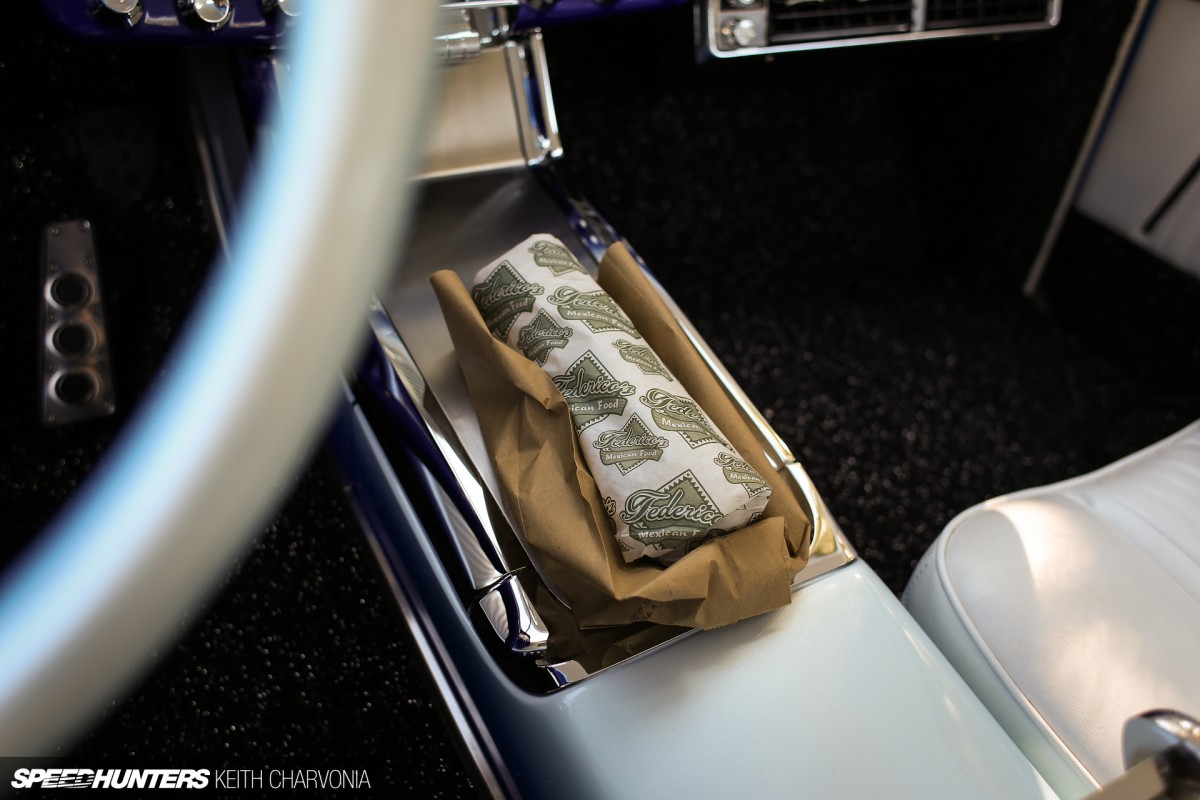
With that sorted, it was time for a full day’s work.
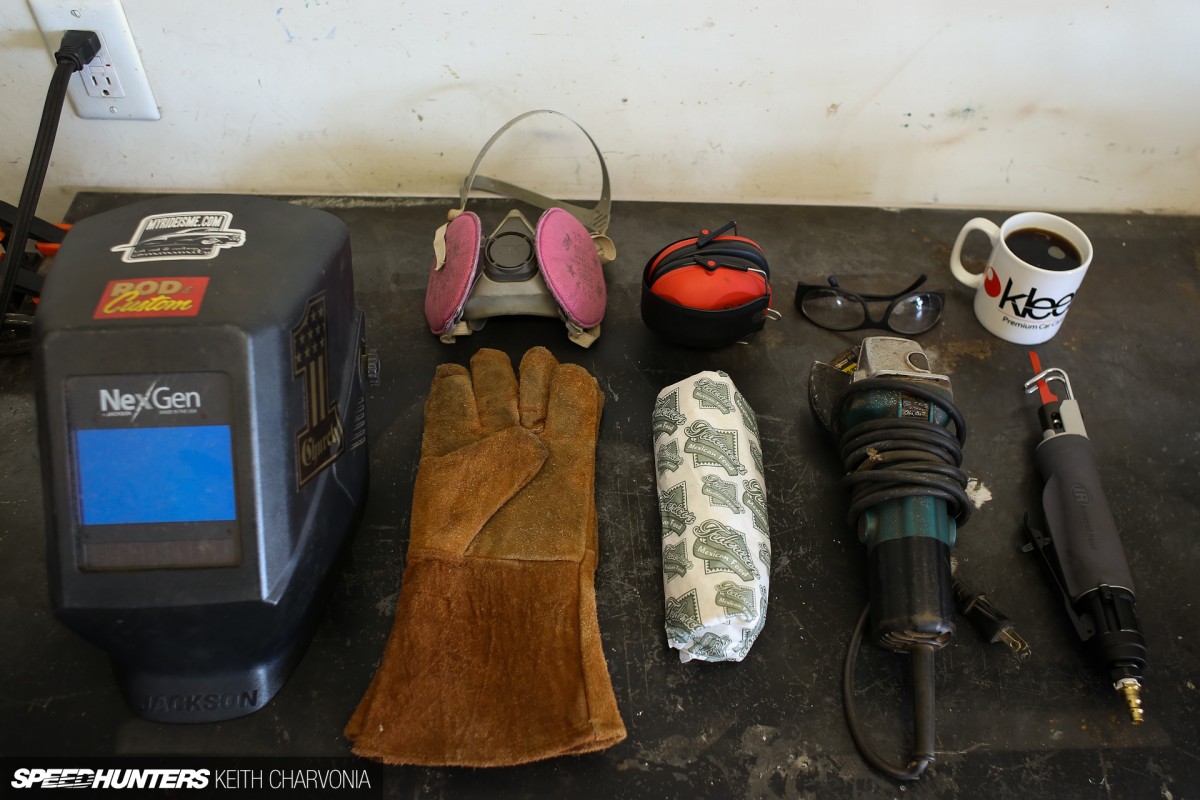
First I gathered the supplies. Besides the food and drink, we’ll be needing a welding mask, leather gloves, eye and ear protection, a grinder, and a body saw for splitting the fenders in two. The respirator is a specific model for welding fumes, good for avoiding the worst hangover of your life. Trust me.
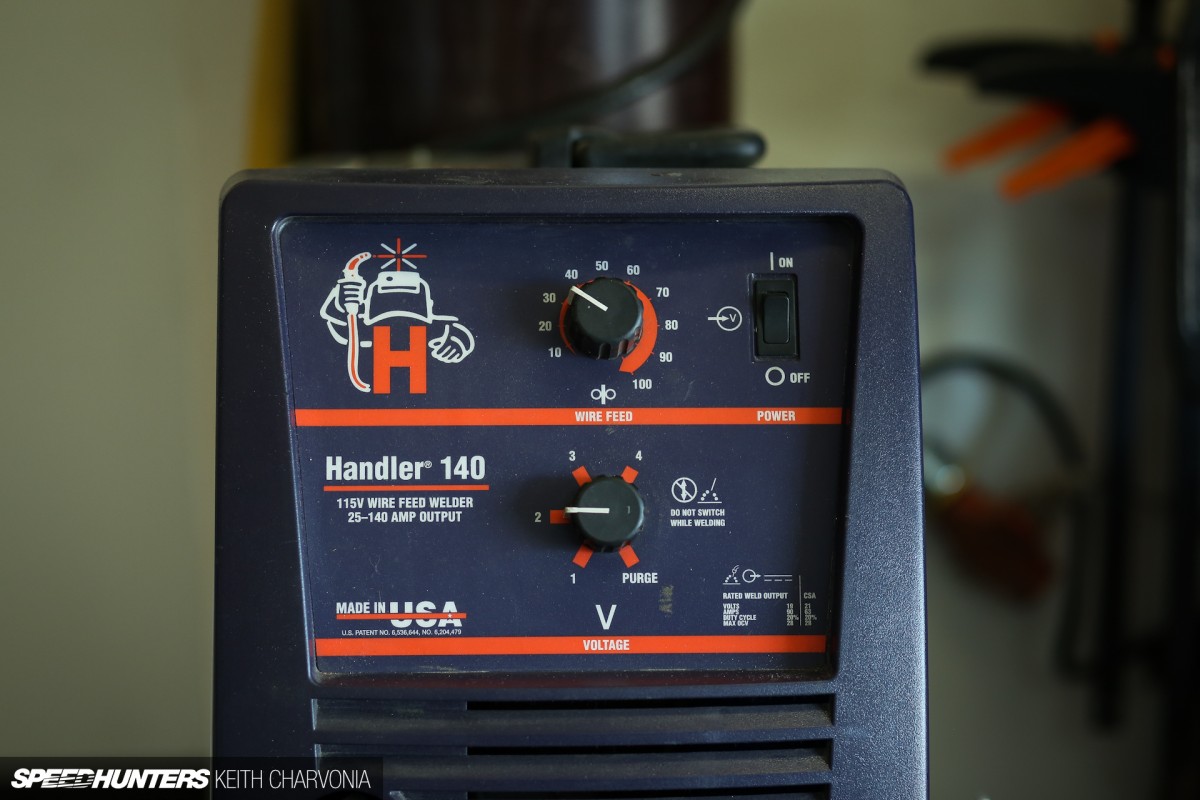
The star of the show would be my little Hobart welder. It’s the budget version of a Miller, but it has performed flawlessly for the better part of a decade. This is the welder that built the Kaiser and countless other smaller projects along the way. The voltage dial on the bottom adjusts the amount of power, or heat, in your weld, while the wire feed dial adjusts how fast the wire comes out of the gun. Pretty simple, right? The settings you see here are what work best on sheetmetal for this welder.
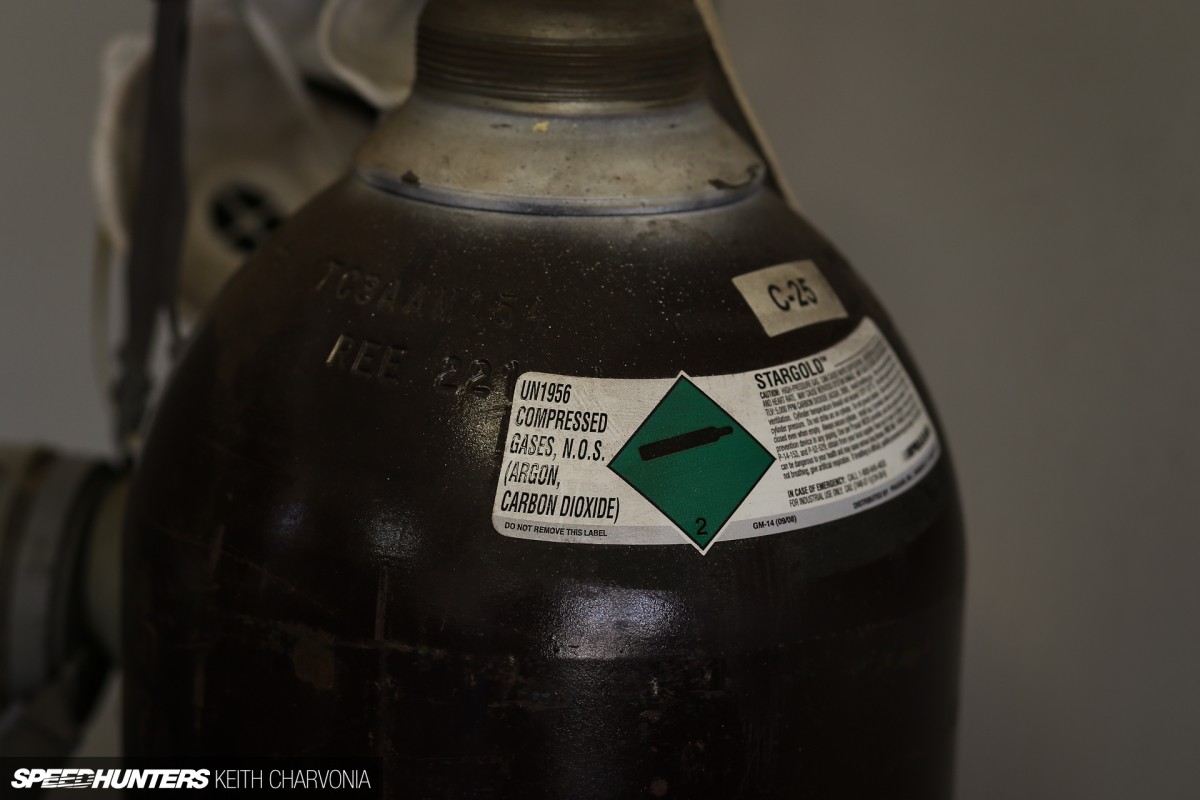
This is MIG welding, MIG standing for Metal Inert Gas. The gas is used to shield the molten puddle from the atmosphere and provide a clean environment for your weld. CO2 is the cheaper way to go, but I learned long ago that C25, which is 25% Argon and 75% Carbon Dioxide, produces a cleaner weld. I also recommend getting the biggest bottle you can, because the refills don’t cost much more but last up to five times longer than the little bottles.
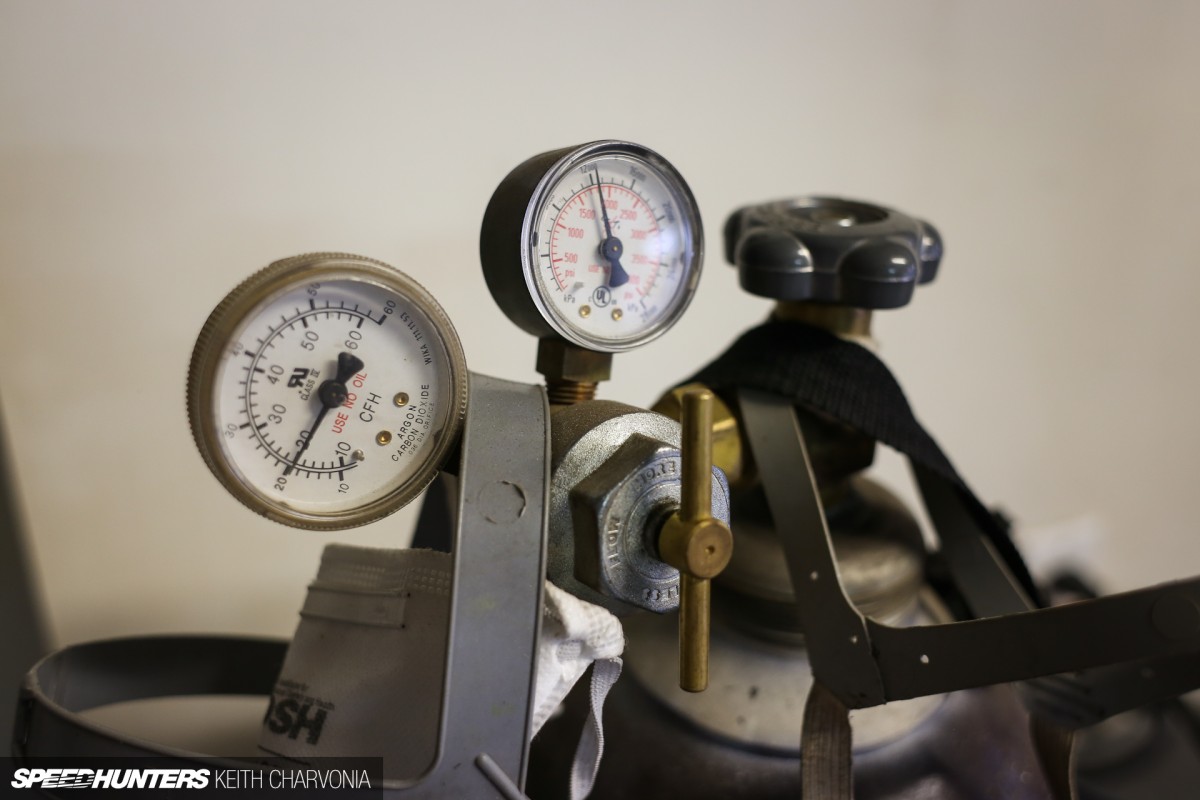
Up top you’ll find a regulator. The gauge on the right is the tank pressure and the one on the left is the regulated flow in cubic feet per hour. I just leave it around 20 and it does fine in the shelter of a garage. If there’s a breeze you’ll have to increase the flow to ensure a clean weld, for example if you’re welding out in the driveway.
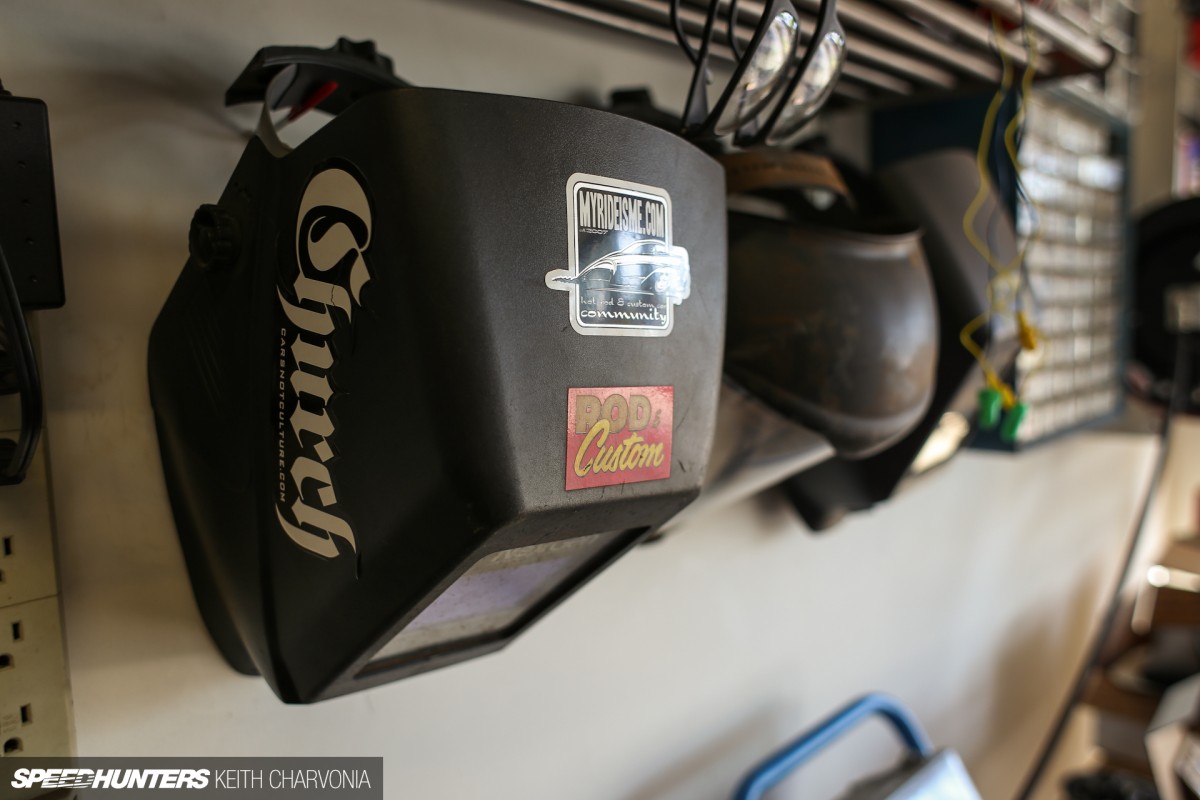
Besides the welder itself, the mask is the most important piece of equipment. I used cheap masks for years, but now I’m glad I splurged on this nice auto-darkening unit, especially when it comes to laying thousands of tack welds on the sheetmetal of a car.
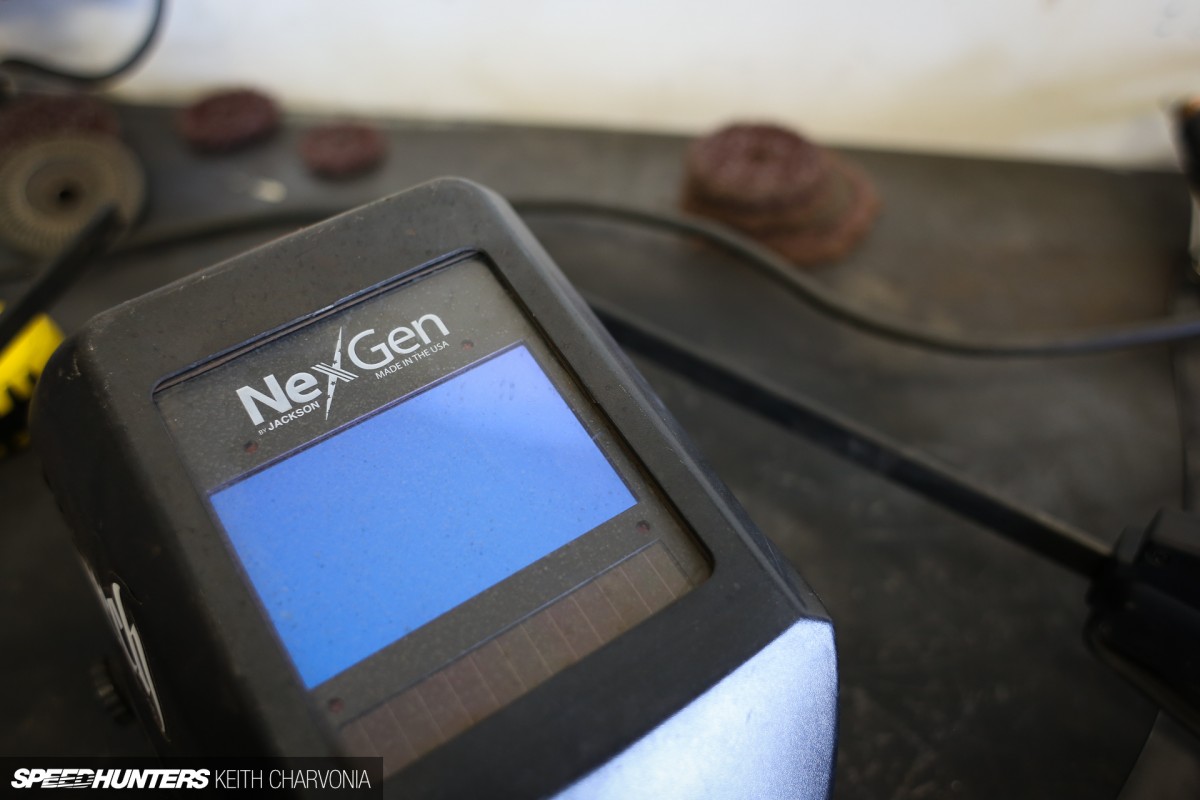
Auto darkening masks have a solar panel that helps keep the batteries charged when exposed to the flash of a weld. Those four LED looking things are the light sensors, which darken the glass when exposed to bright light, like when welding.
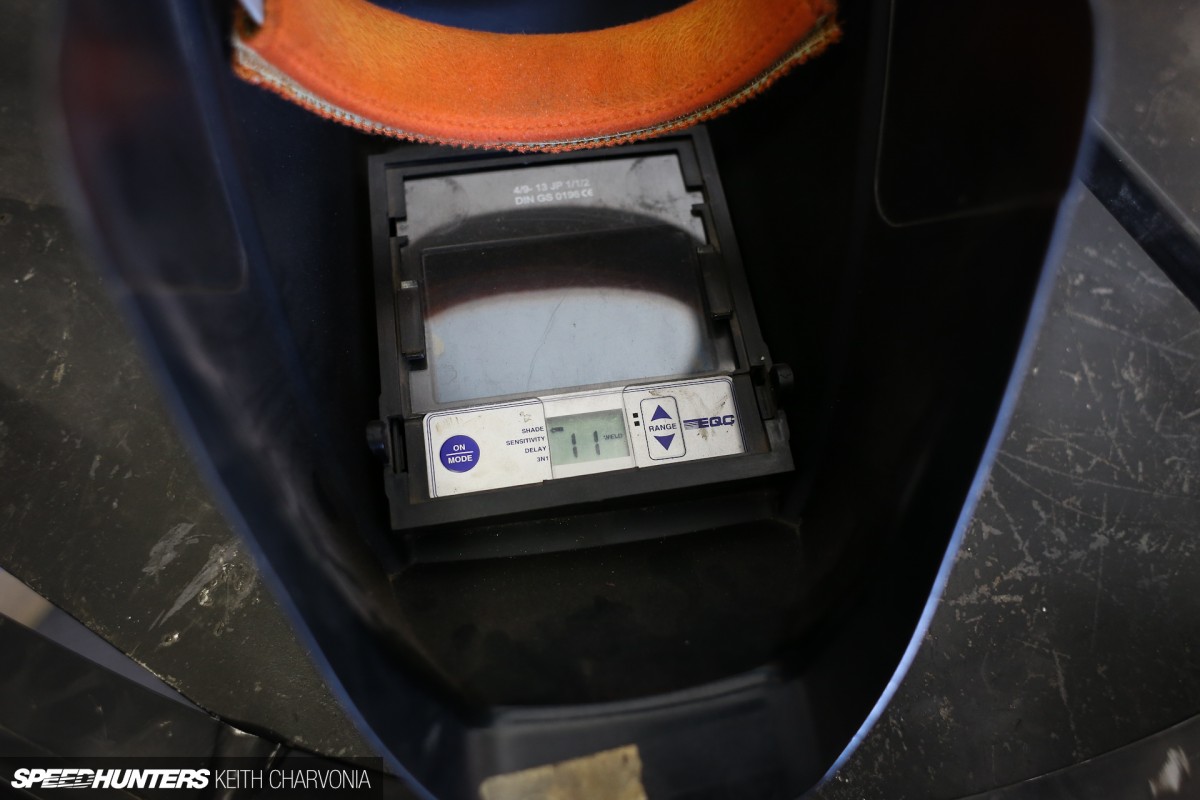
You can adjust how quickly this transition takes place and set the delay when it goes back to clear. You can also adjust the darkness of the glass: 10 is standard tint, but I’ve found running it at 11 keeps the spots out of my eyes.
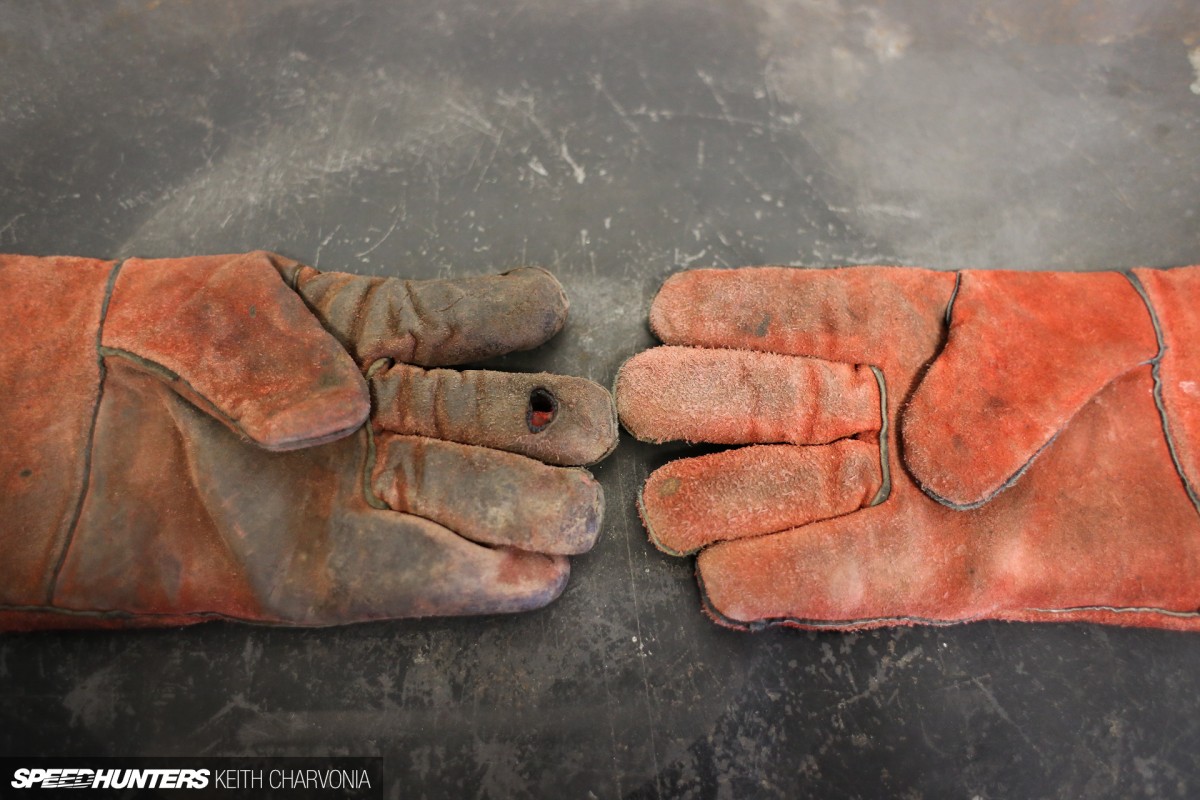
The final critical item is a leather glove to protect your hand. I say hand and not the plural because the one that’s holding the torch doesn’t really get hot, especially with the relatively low heat and short intervals when welding sheetmetal. For this reason the left glove is all burned up, while the right glove is practically new. I finally started throwing away all the new right-hand gloves that were piling up.
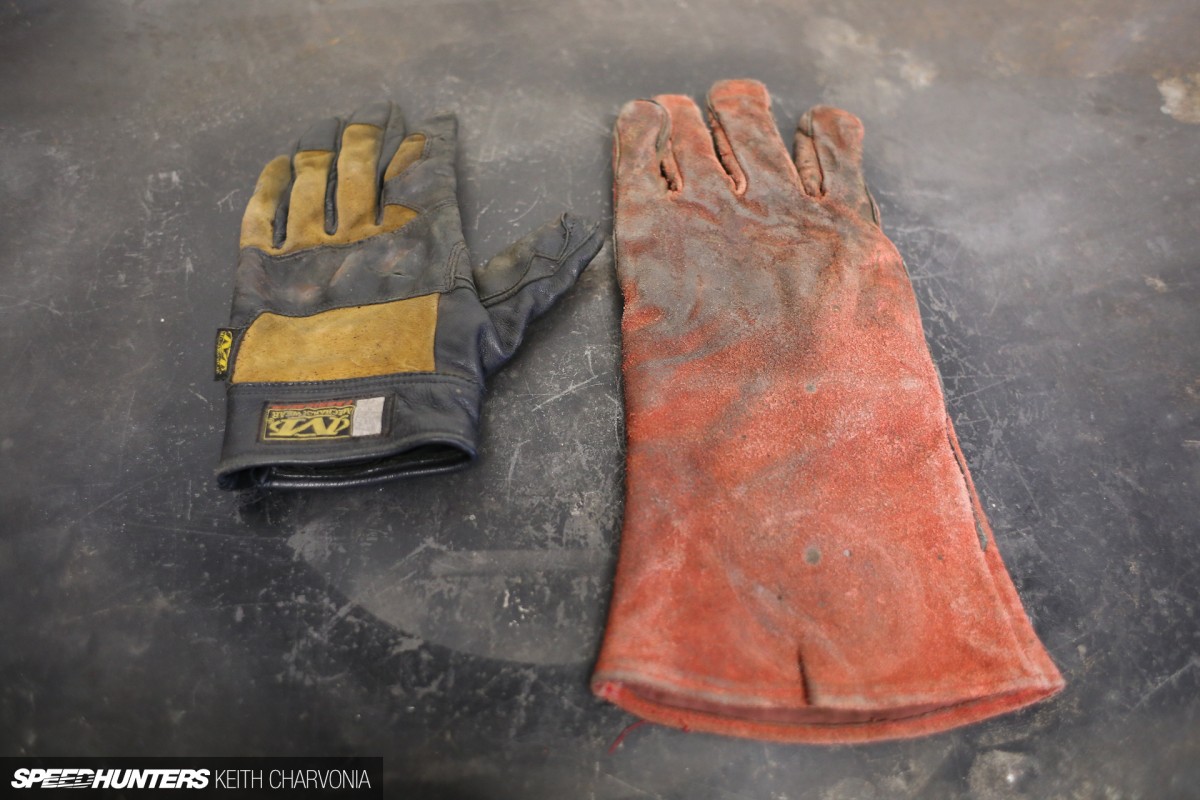
When Mechanix came out with their Fabricator gloves, I was the first in line to get them. These smaller, thinner gloves are awesome for working with sheetmetal, because as you’re about to see, you need to shape the metal and feel what you’re doing as you weld.
CHAPTER TWO
First, a lesson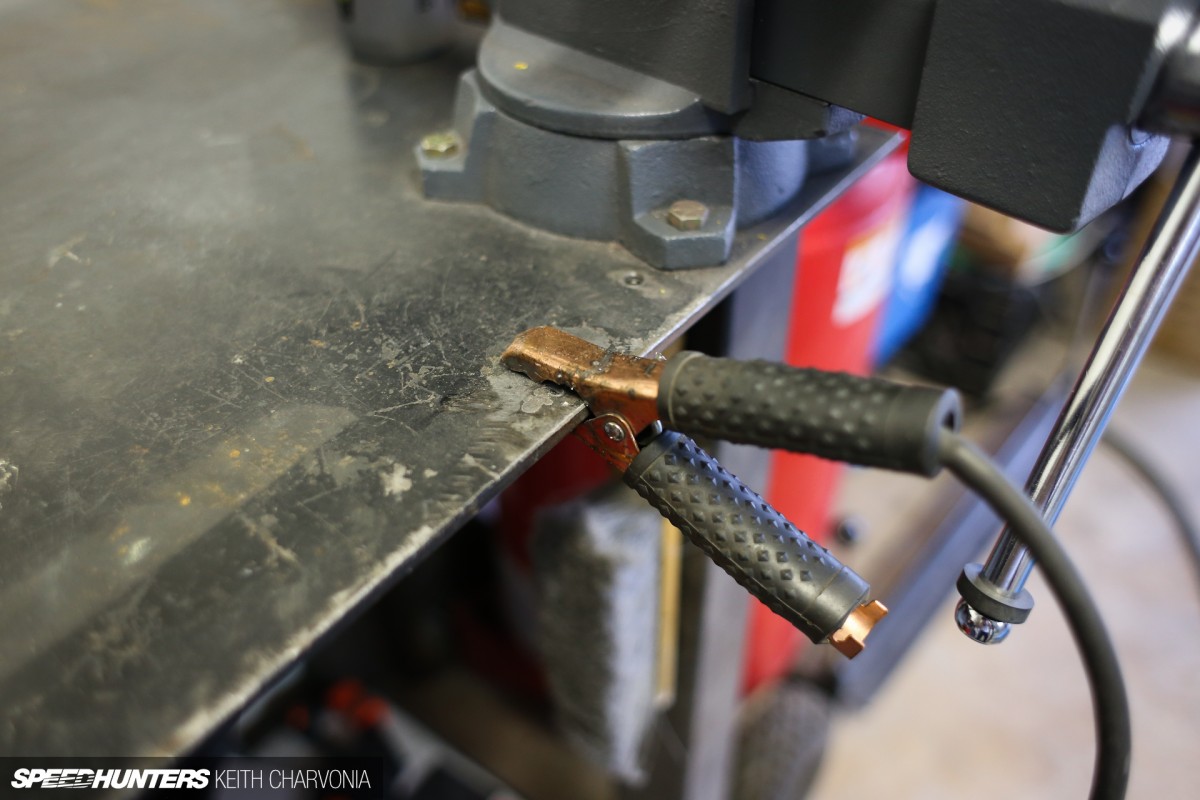
MIG welding uses electricity through a ground clamp and the welding wire to complete a circuit and generate heat. The wire melts into the base metal, providing the heat and some filler material as the wire melts.
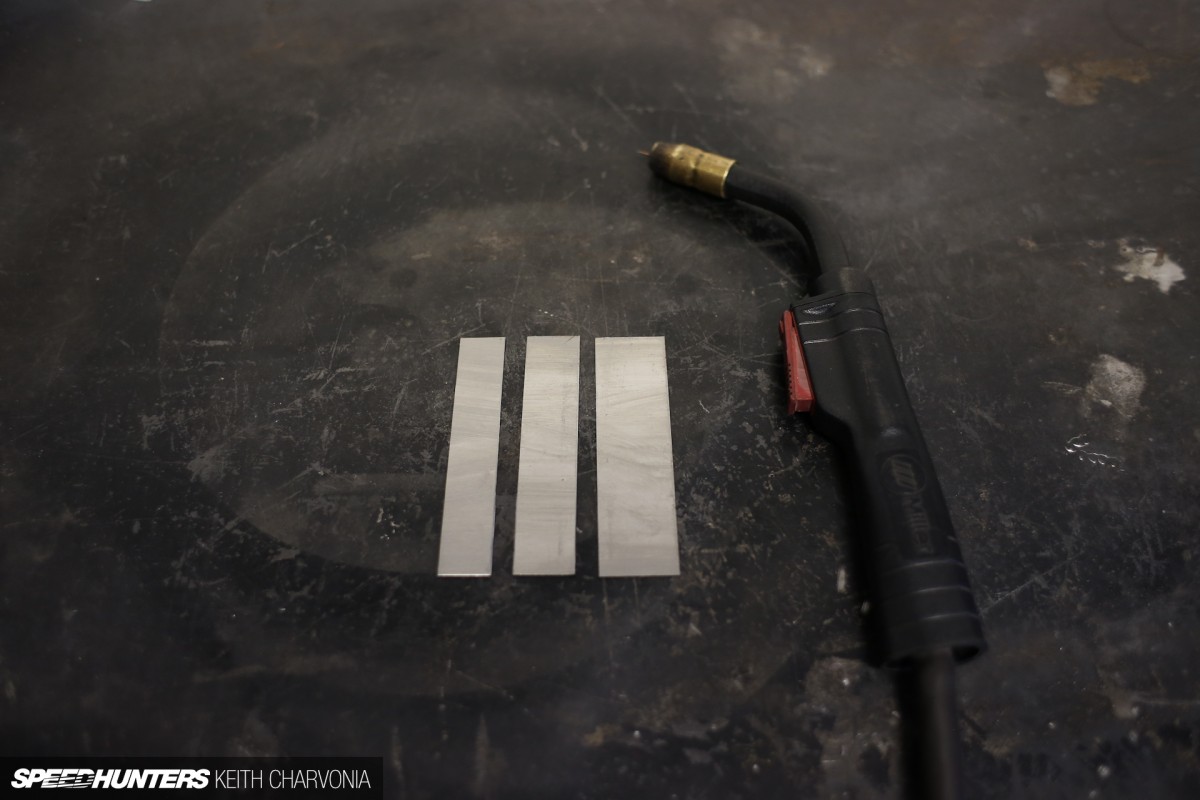
To show Joe the ropes, I first cut some small pieces of sheetmetal, called coupons in the welding world. It’s always a good idea to set your welder using the same material you’ll be working with, unless you’ve done a ton of welding on the exact same type of metal and already know which setting to use.
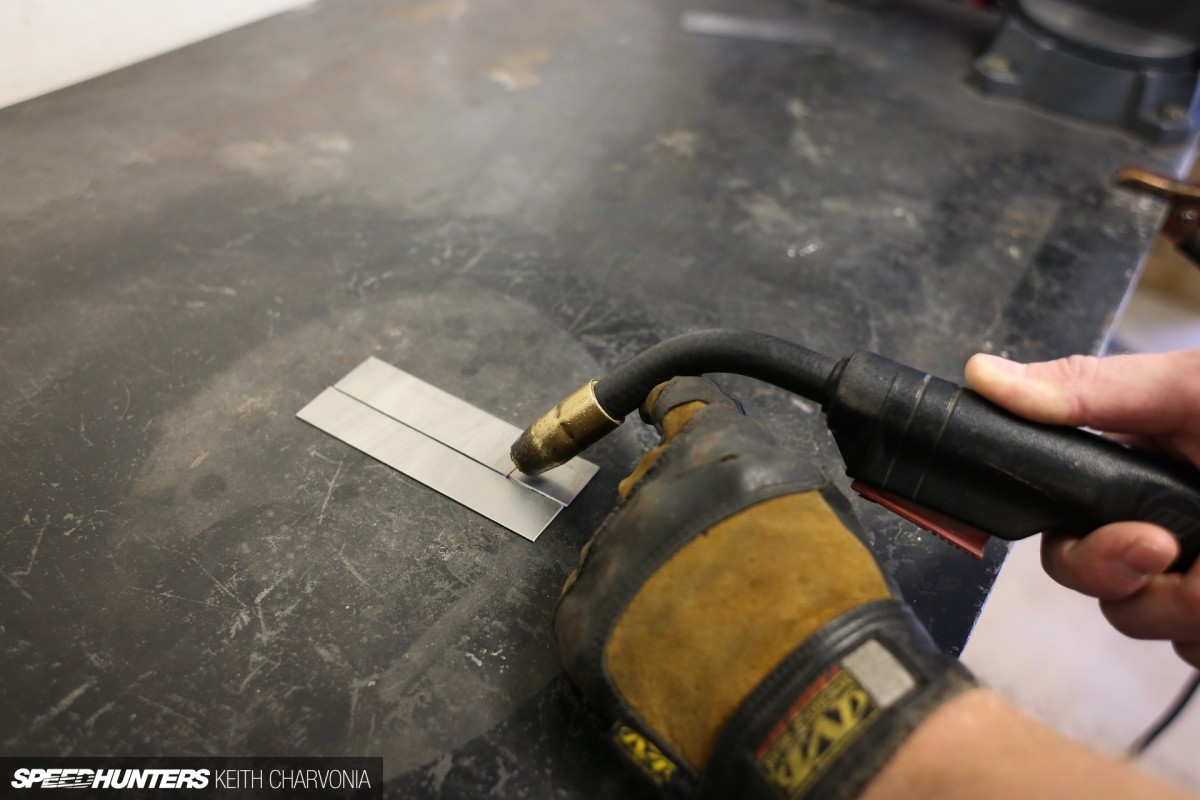
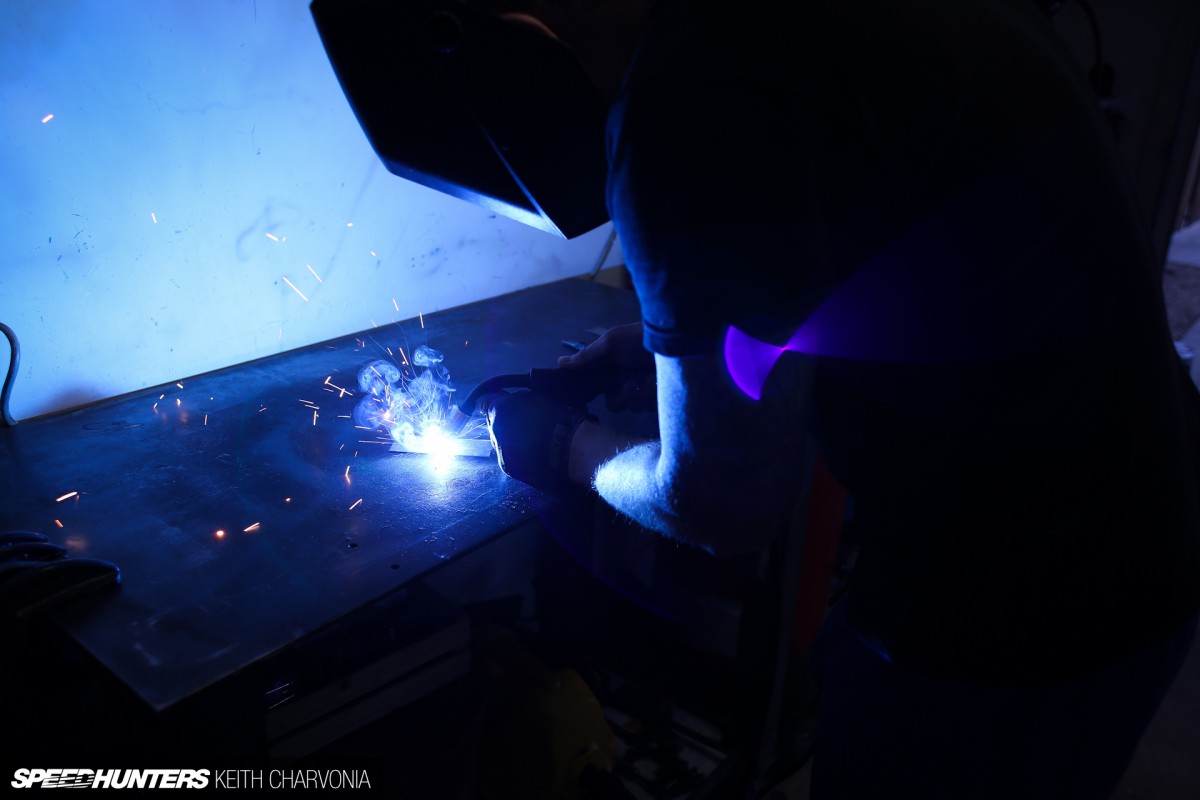
I let Joe use my lucky left glove, and showed him how to steady the torch with his free hand and set the wire right where he wanted the weld. All that’s left is to pull the trigger.
World, I give you Joe’s first weld. Not bad man!
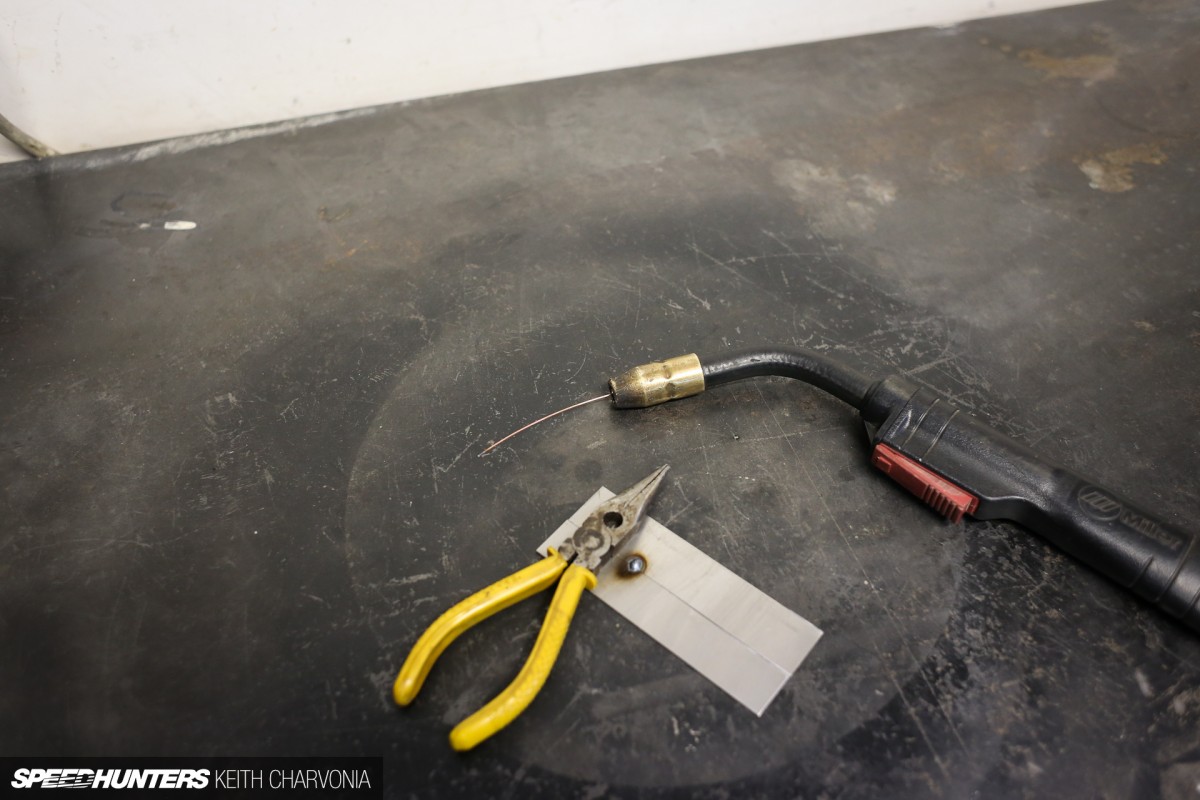
Then he pulled the trigger and spooled out some extra wire. Oh yeah, let’s teach him how to cut the wire back to the right length. You can use sidecuts or pliers that have a cutter for this, and just trim the wire back to about half an inch from the gun.
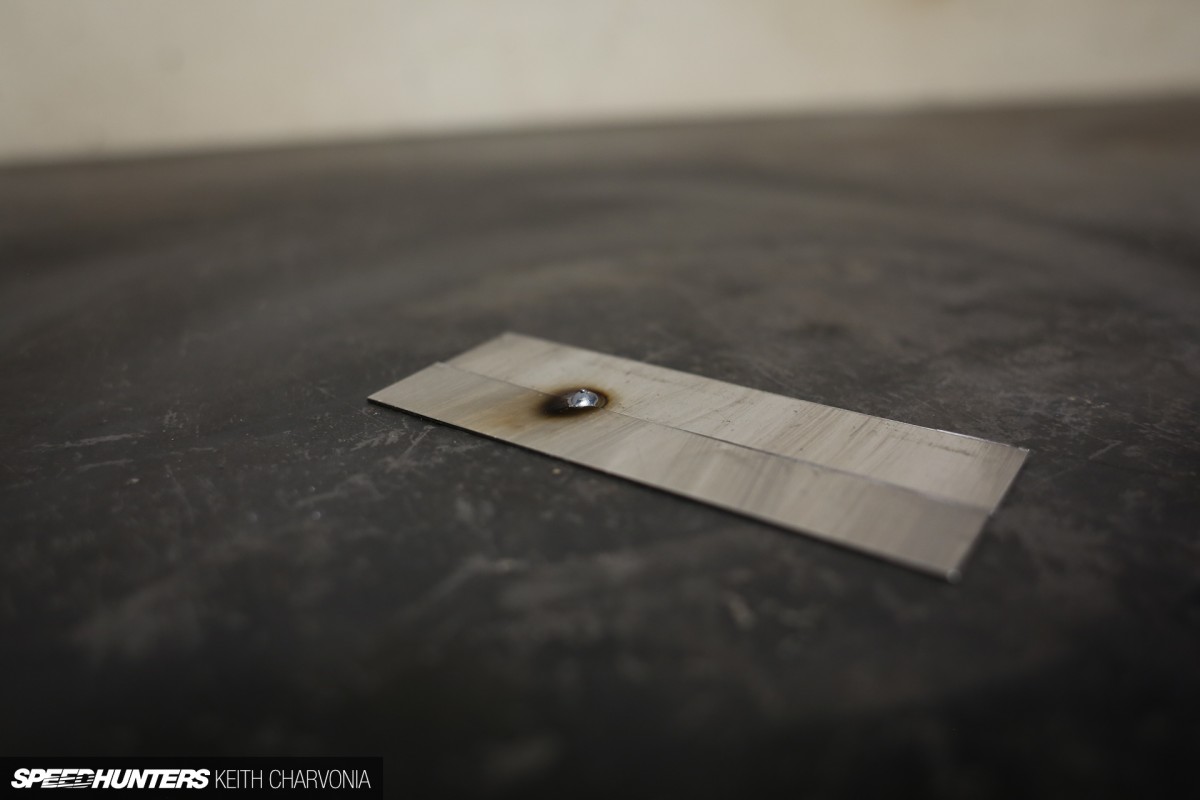
Joe’s first weld was a little proud of the surface, meaning the wire speed was too high and it put down too much material. This is just me being picky – he really did much better than most people, but I turned the wire speed down a little for him.
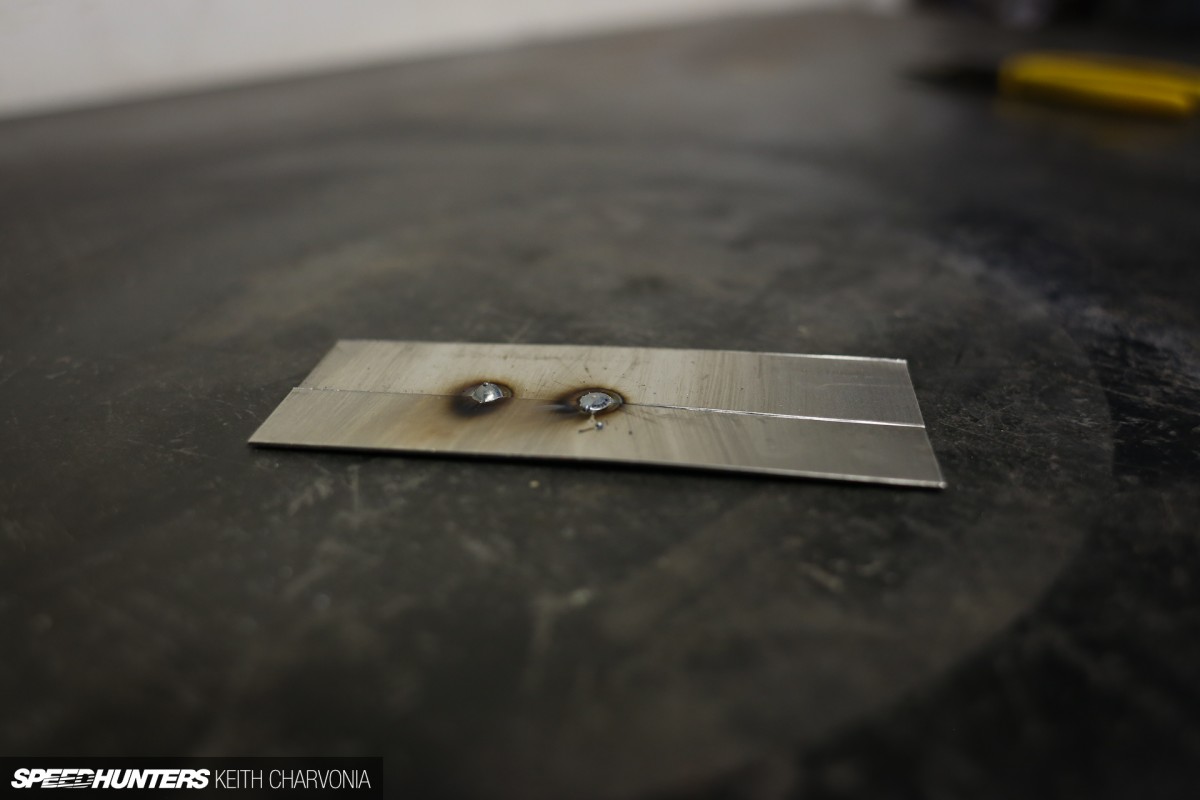
The second tack is what I would call ideal. It penetrated the metal nicely, and left a flat weld so there’s less metal to grind off later. This counts when you weld up an entire car and then have to grind it smooth.
Joe caught on quickly, so I set him loose to get the feel for tack welding.
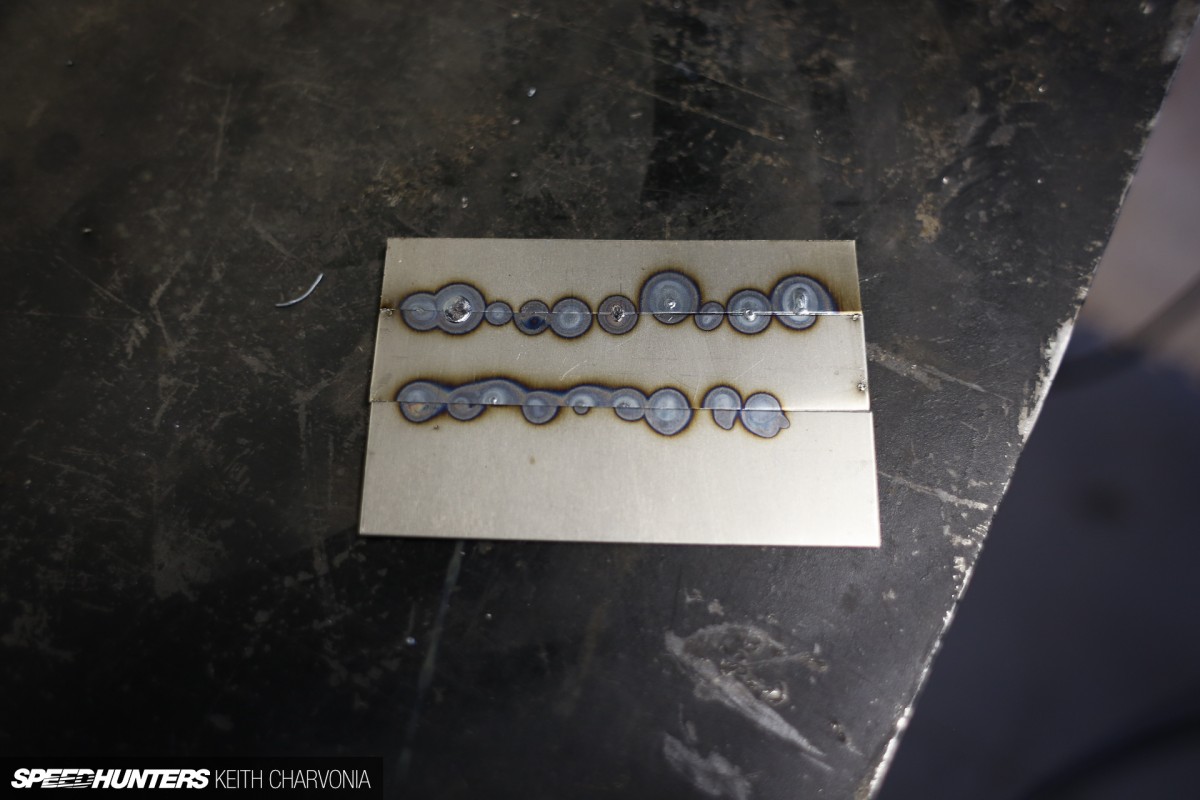
After a couple of minutes he ran out of room, so we stopped to inspect his work. Notice some of the welds are too hot and burned through to the back side. Since we didn’t change the voltage or wire speed, this just means he held the trigger a little too long. The other thing to note is that some of the tacks didn’t penetrate both pieces of metal, and instead favored one side of the gap. This is just a matter of controlling the welding gun a little better.
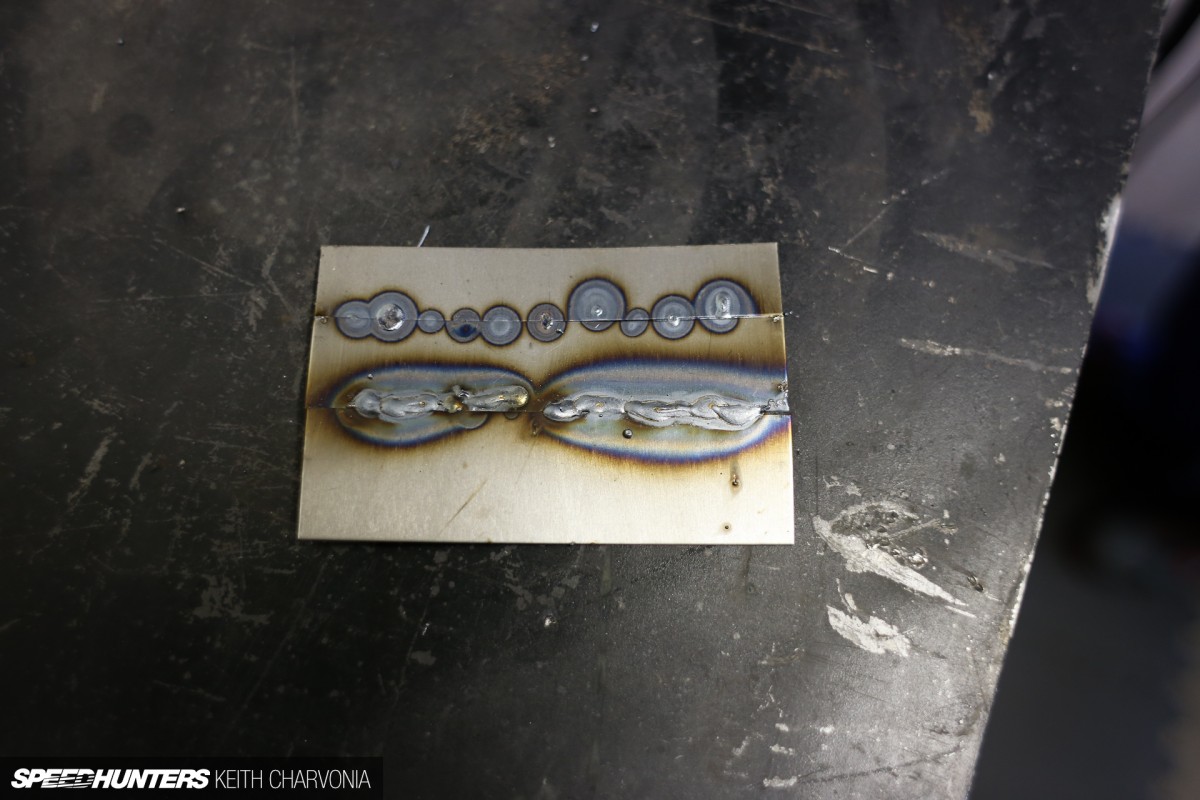
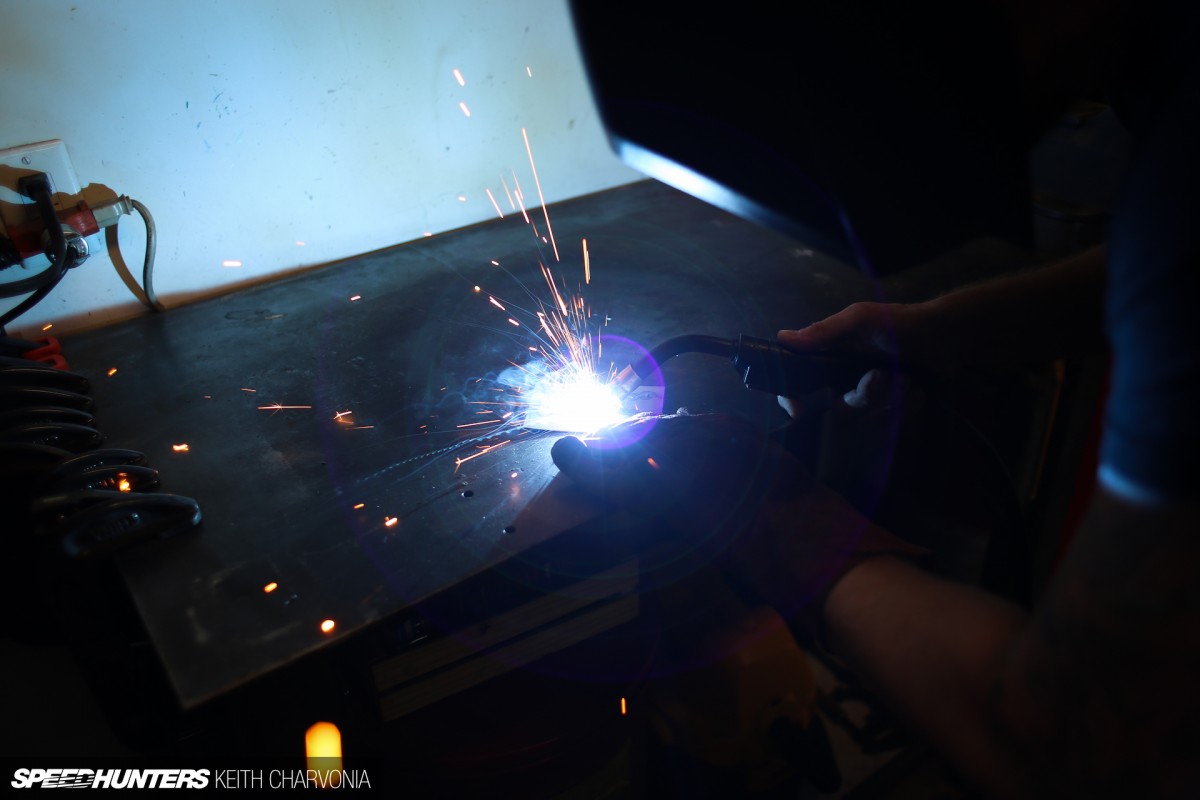
Joe was eager to get welding now, and wanted to try a bead. This would be a perfect example to learn from, but he didn’t know why yet. Notice all the heat his beads put into the panel compared to the smaller tack welds.
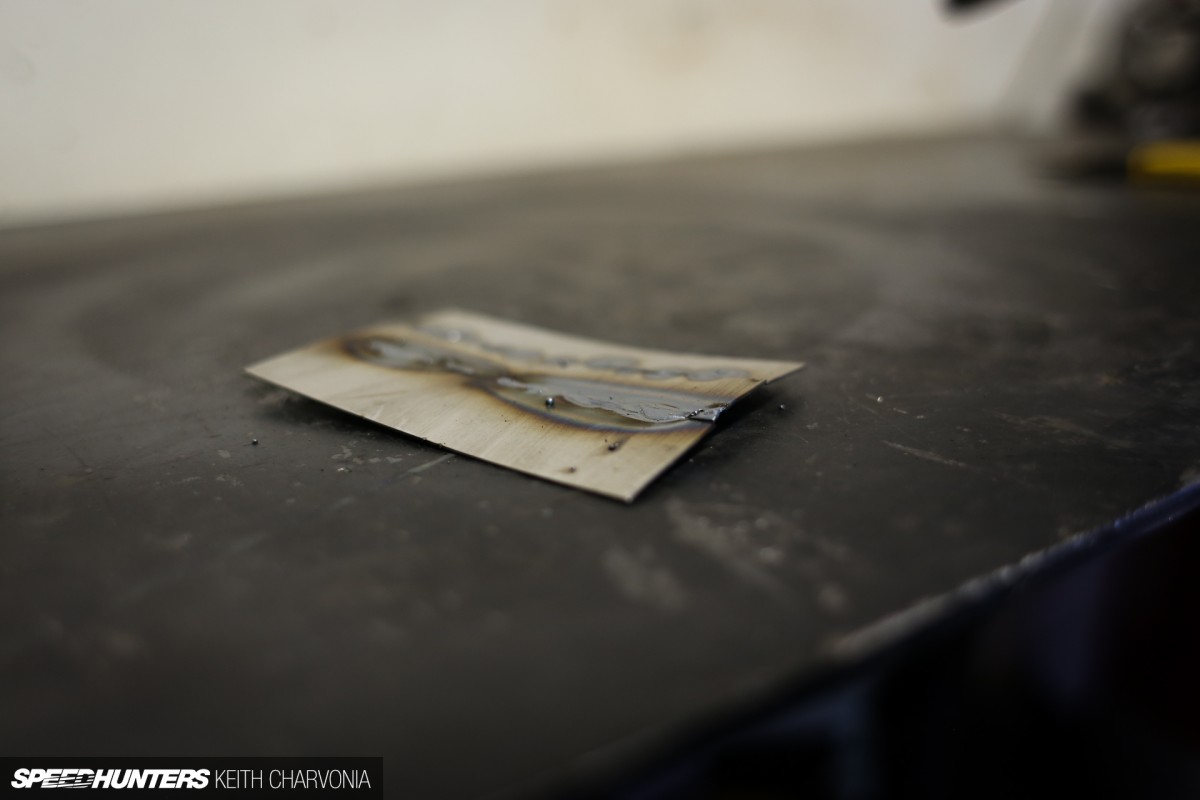
This is precisely why you don’t weld a continuous bead on your car’s sheetmetal. You have to go slow and space your tacks out so you don’t put too much heat into the body panel and warp it like this. This is also the reason I prefer working on older cars; they were made with thicker metal and are much easier to weld than modern cars.
We can get into laying a bead another time – for now we’re going to focus exclusively on tack welding since we’re working on the relatively thin sheetmetal of Joe’s ’49 Chevy truck.
FINAL CHAPTER
Now, the real work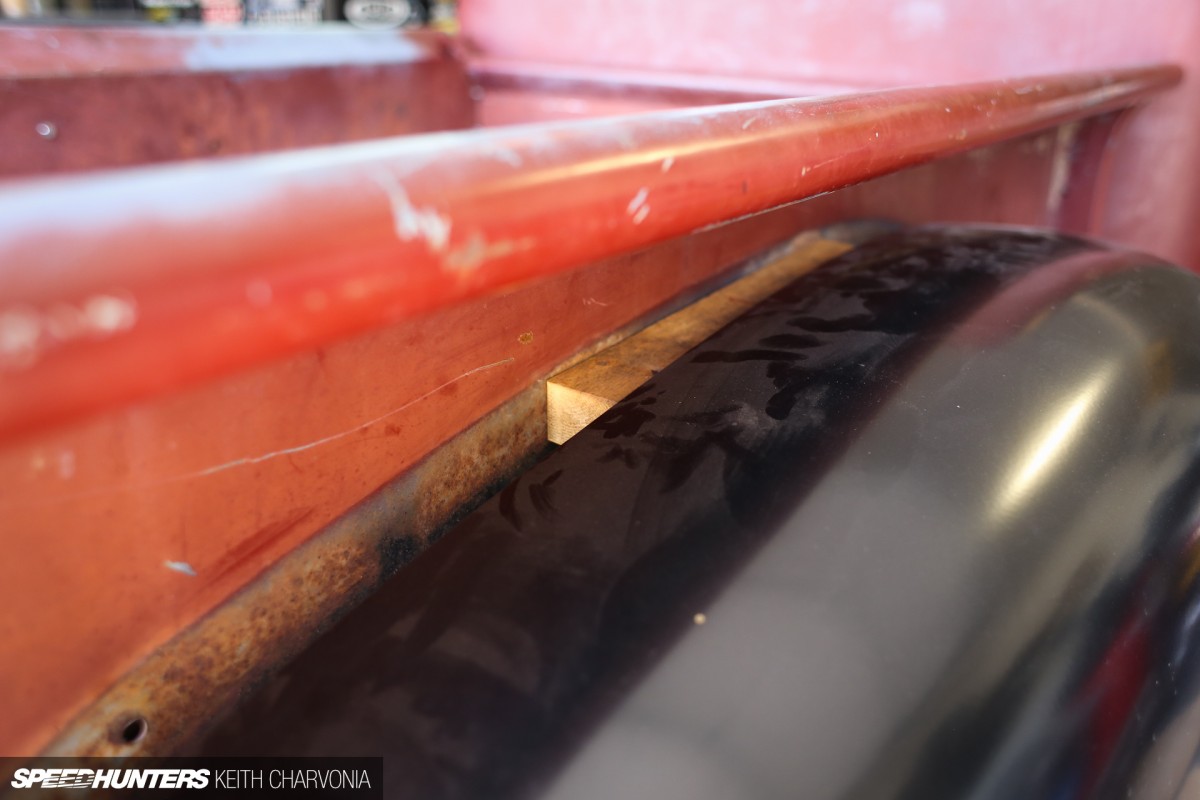
Now that Joe could lay down a tack weld, it was time to get to work and correct this ‘situation’ he had going on with his truck fenders.

We pulled the driver’s fender off and chucked the wood blocks.
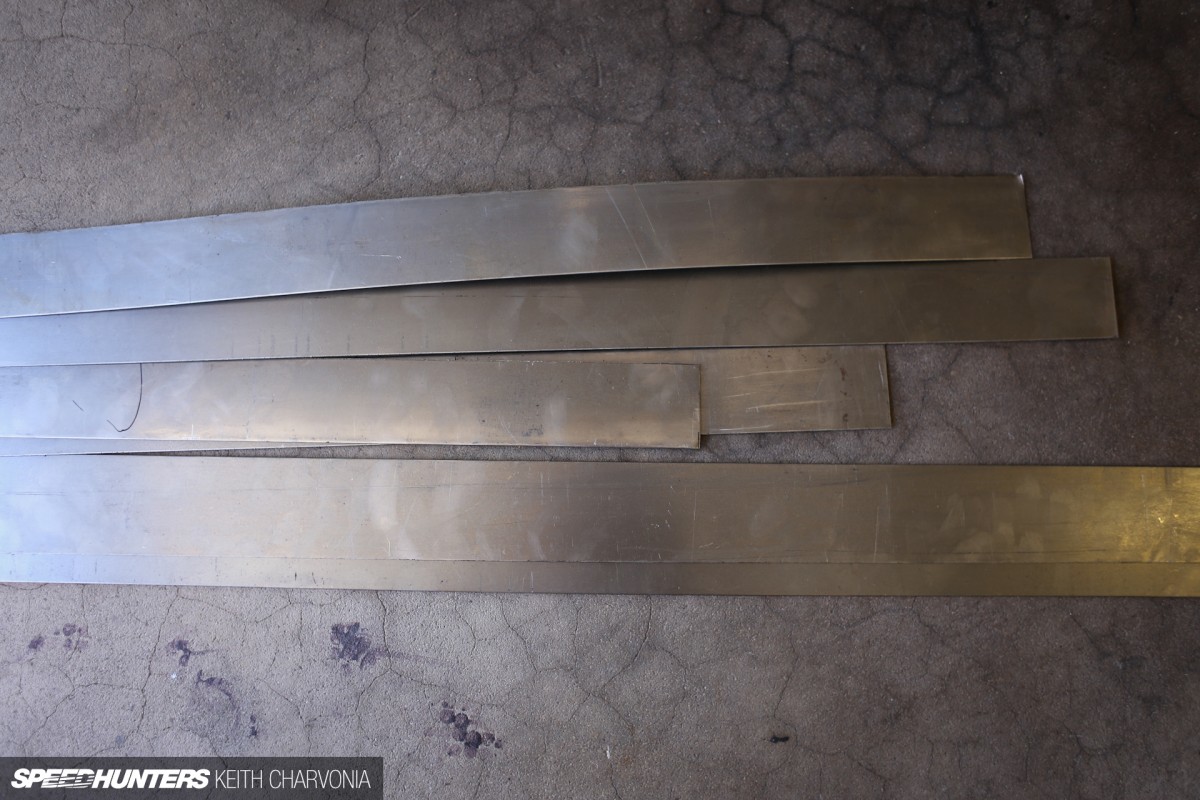
Planning ahead, I asked Joe to have the steel yard cut some 2″ wide strips of 18 gauge steel to save some time.
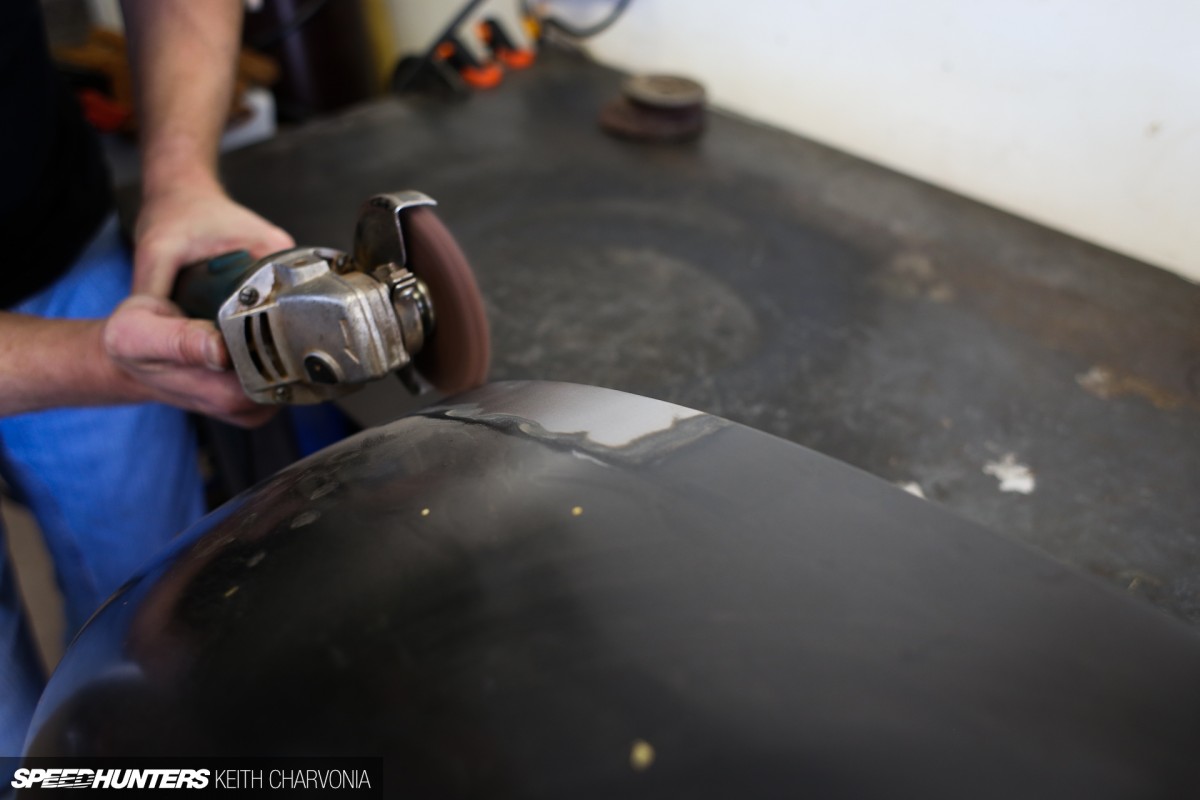
With the fender on the workbench we proceeded to strip away the paint where we would be welding. I have a stash of red Scotchbrite wheels that I scored at a previous job, but I’ve yet to find them at a reasonable price anywhere. They work great for stripping paint without getting into the metal. You could also use a sanding disk or grinding wheel, but you need to use a very soft touch so you don’t thin out the metal and make it more difficult to weld. This is also why I strip the paint before I cut the panel apart – if you do it after you will thin the edge by running the grinder over it.

Next we took a cheap set of calipers and scribed an even line all the way around the inner edge of the fender.
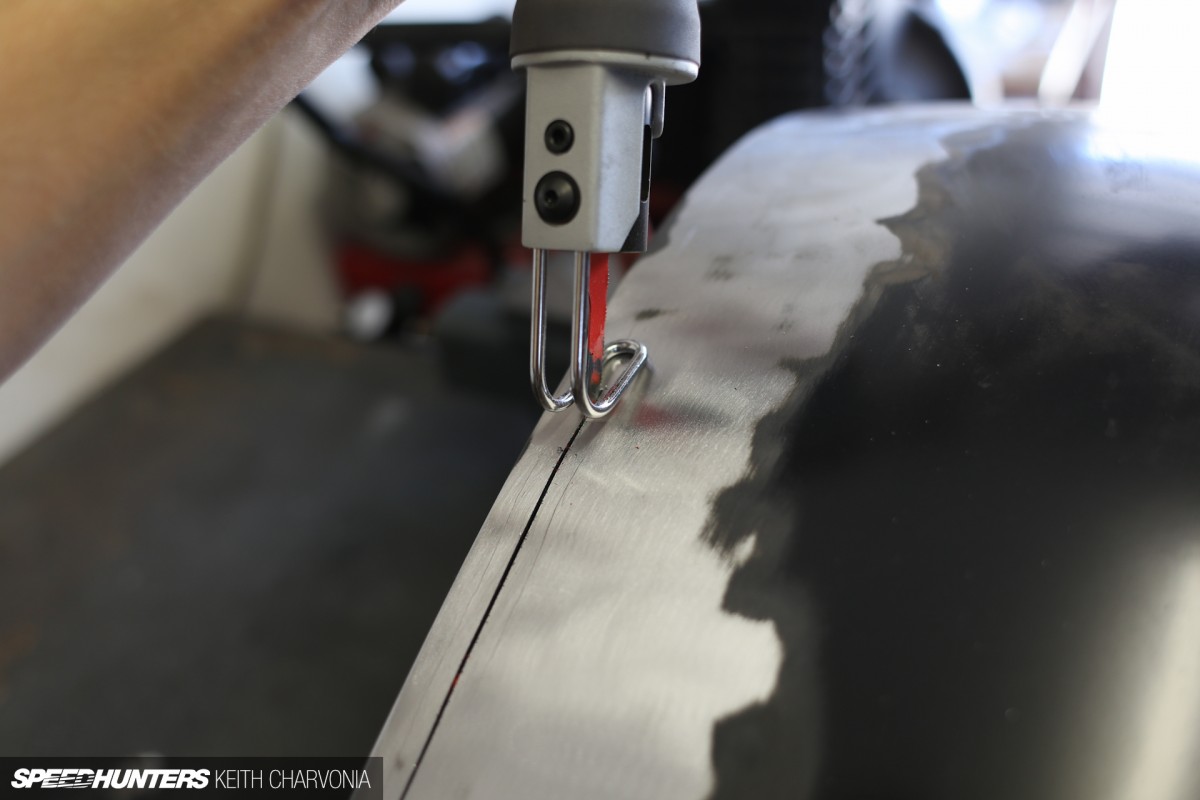
Then I just took my bodysaw and cut on the line. This is another tool where you get what you pay for. After struggling with cheap versions I ponied up for a good one and have never looked back.
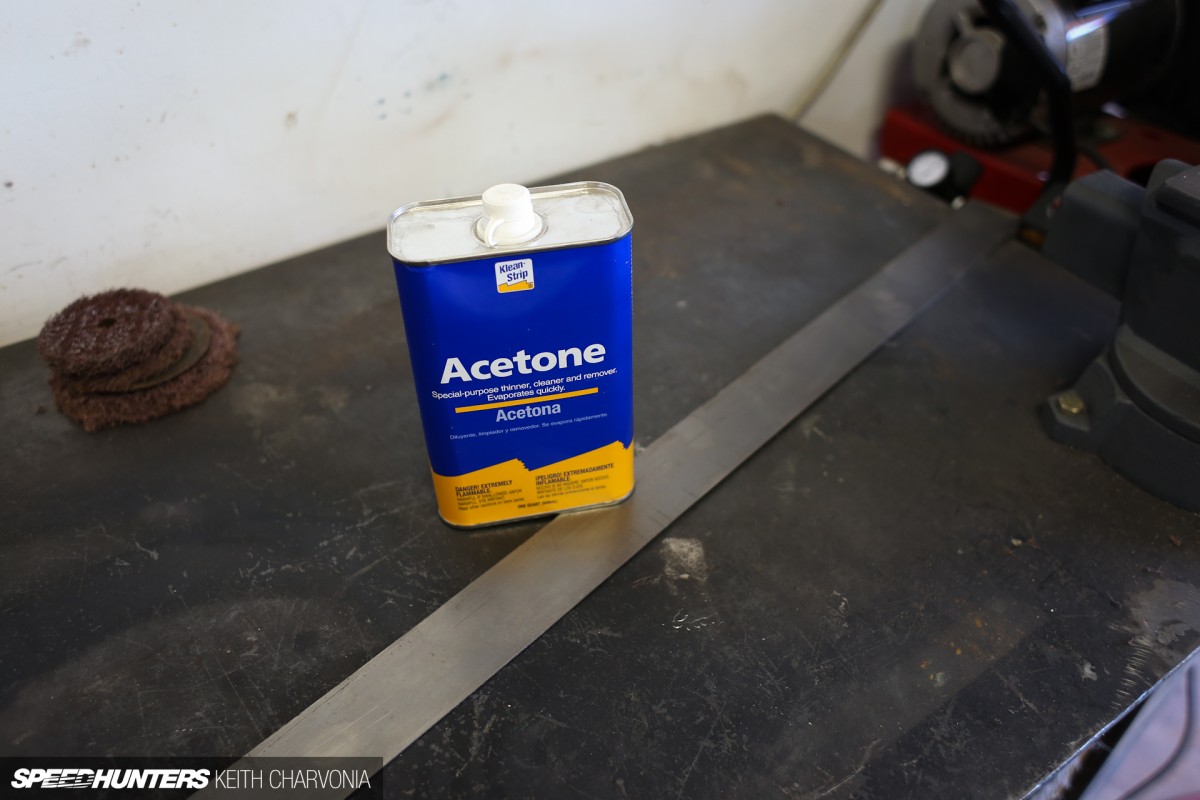
We already stripped the paint off the fender, but I didn’t really explain why. The best weld will come from clean metal, so any paint, rust or oil will only contaminate the weld, making it porous and weak. Even new metal has a coat of oil on it from the manufacturing process that keeps it from rusting while it sits at the steel yard.
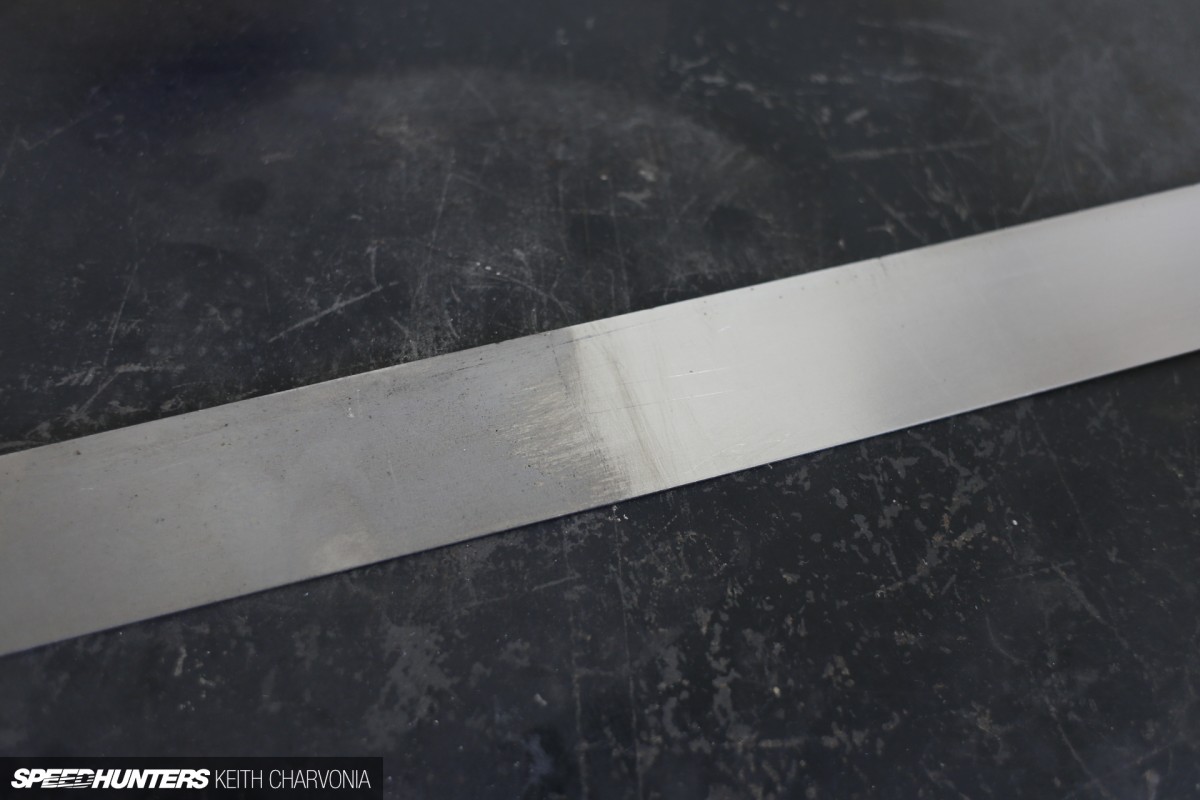
A quick wipe with some acetone on a clean towel reveals the shinier clean metal under the coat of oil. Make sure you put the acetone and the now highly flammable towel away before you start welding!
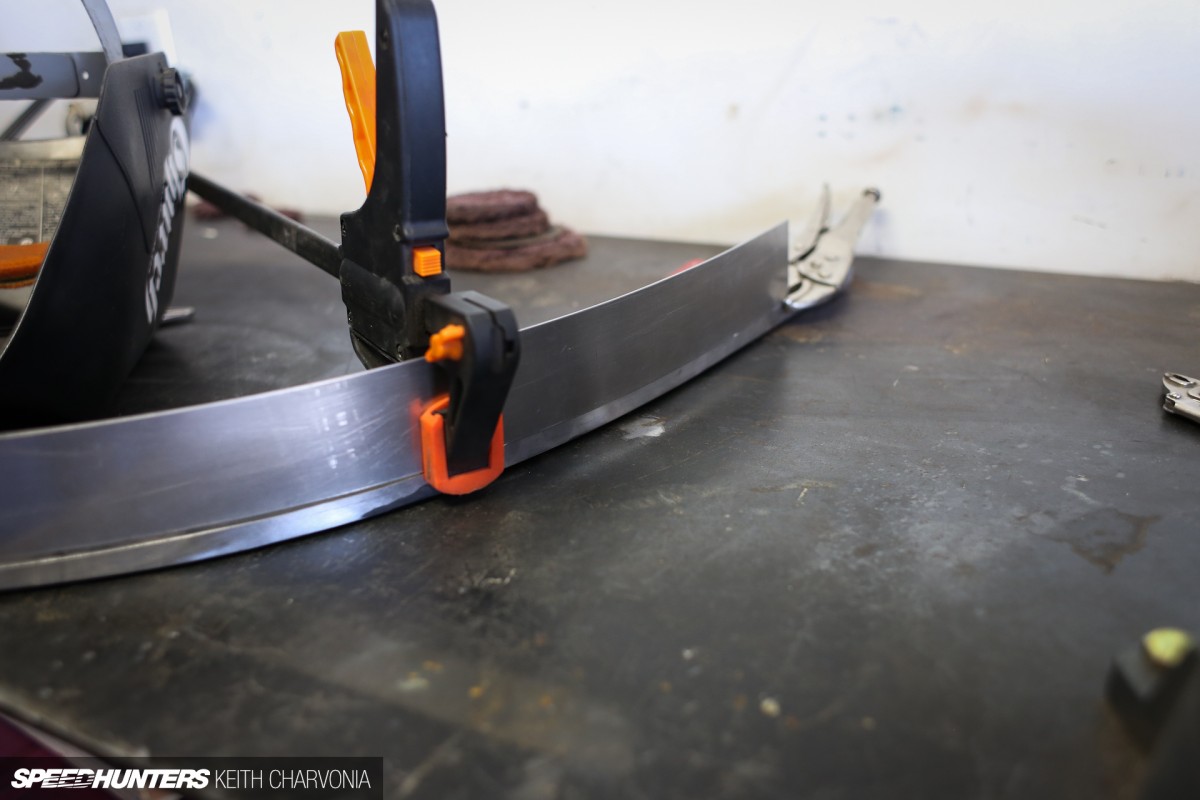
Like so many things, the success of the project hinges on the level of prep you do before getting down to the actual work. Finally, we were able to start clamping up the metal to widen the fenders.
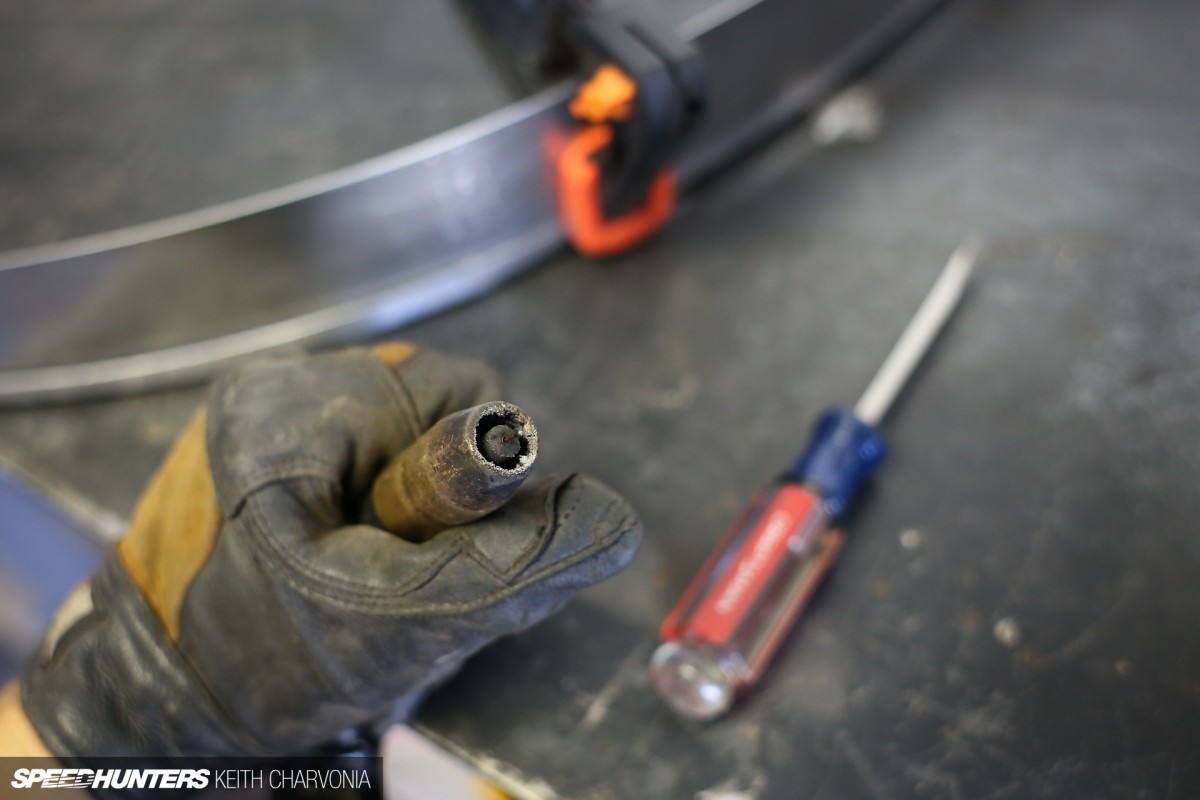
There was one last thing I needed to show Joe though. The nozzle of the welder gets a buildup of metal as you weld and needs to be cleaned out with a flathead screwdriver or needlenose pliers occasionally. If you don’t keep it clean, it will eventually block the shielding gas and result in a bad weld.
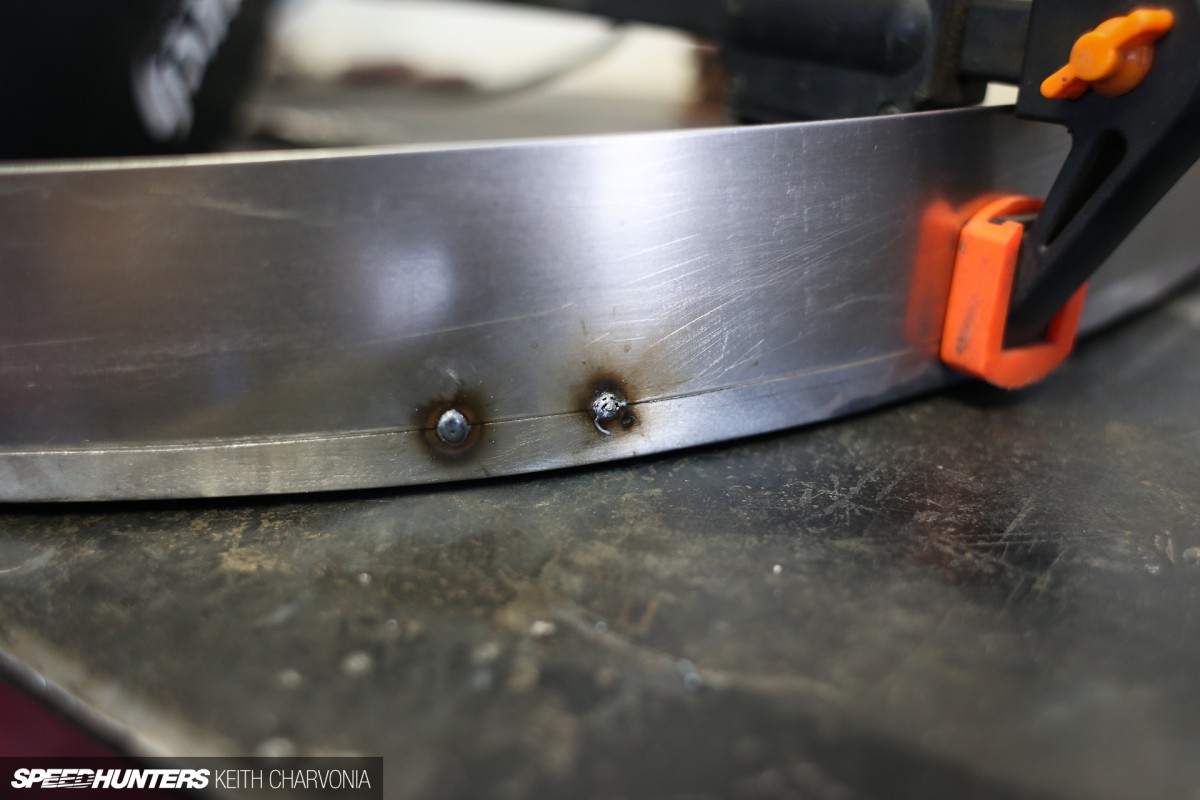
My first two tack welds yielded the perfect example of a good weld (on the left) and a bad weld (on the right). I probably hit a little oil or something and it ruined the weld, resulting in a porous, weak weld that will easily break apart. You might as well grind that one off and redo it now.
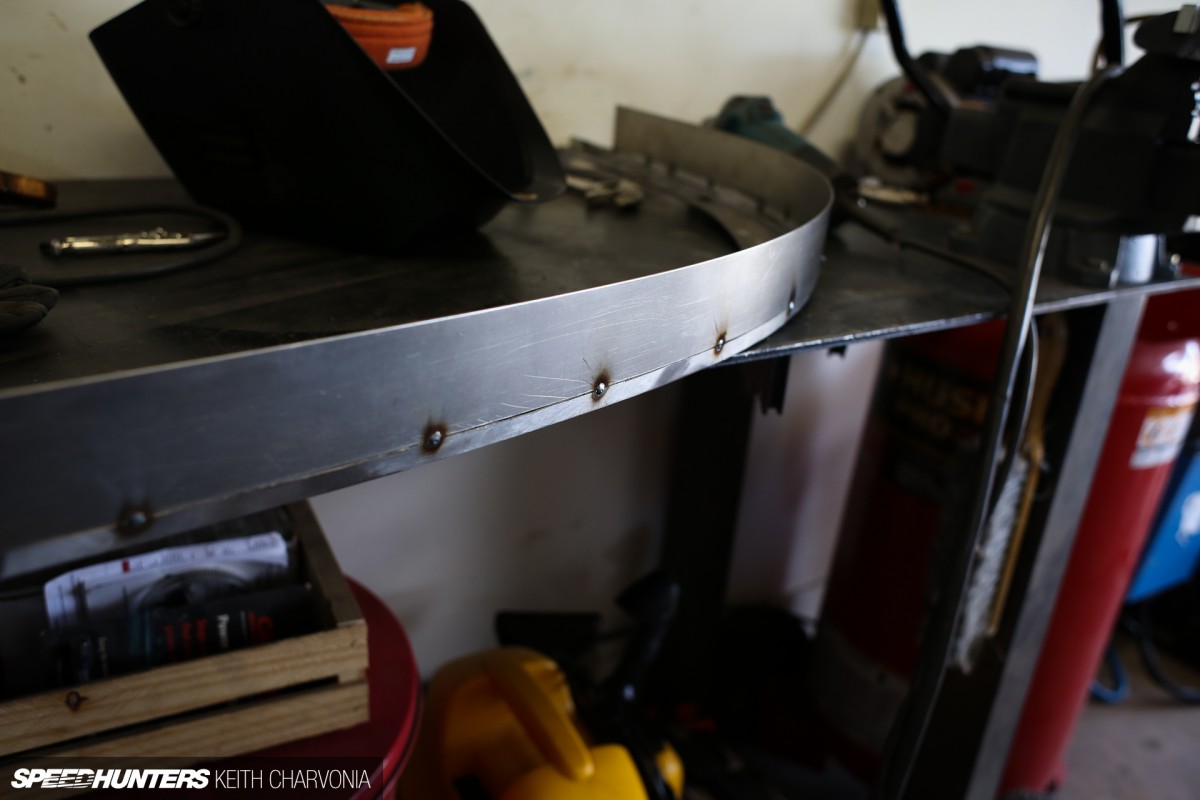
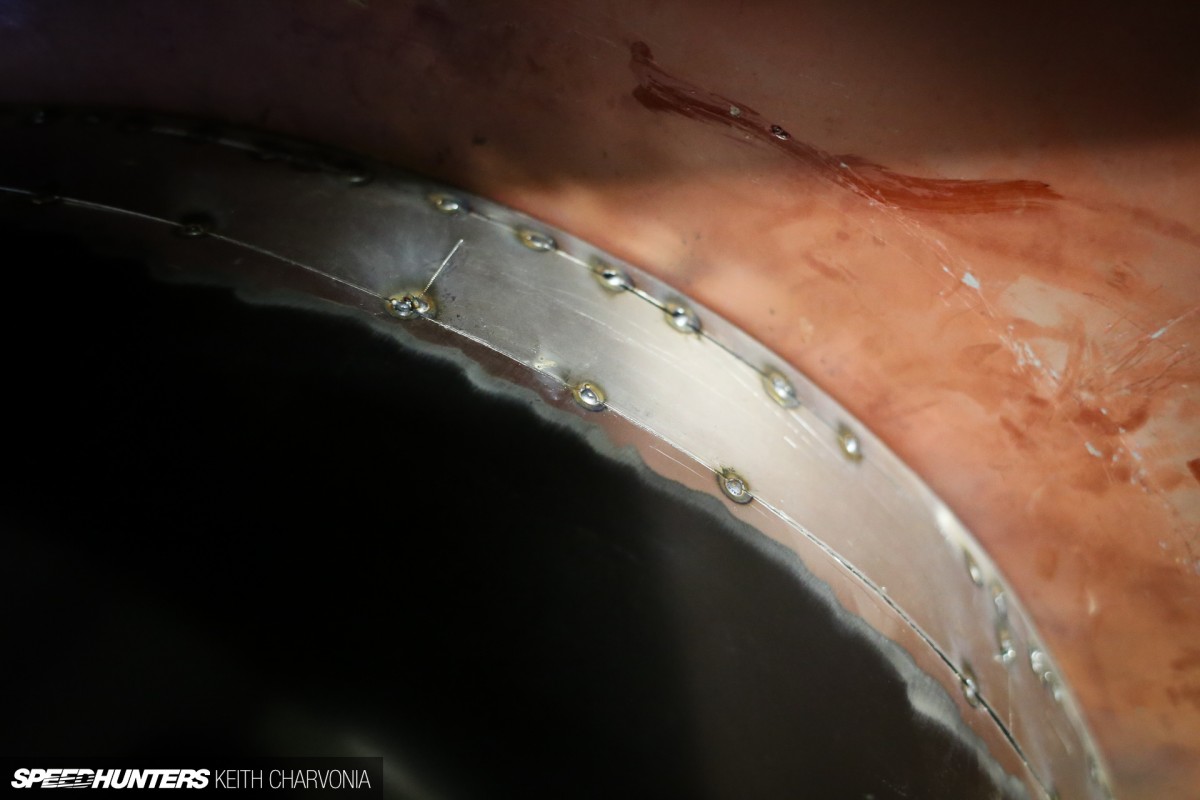
We worked our way around the fender, clamping it flush and adding a weld every few inches.
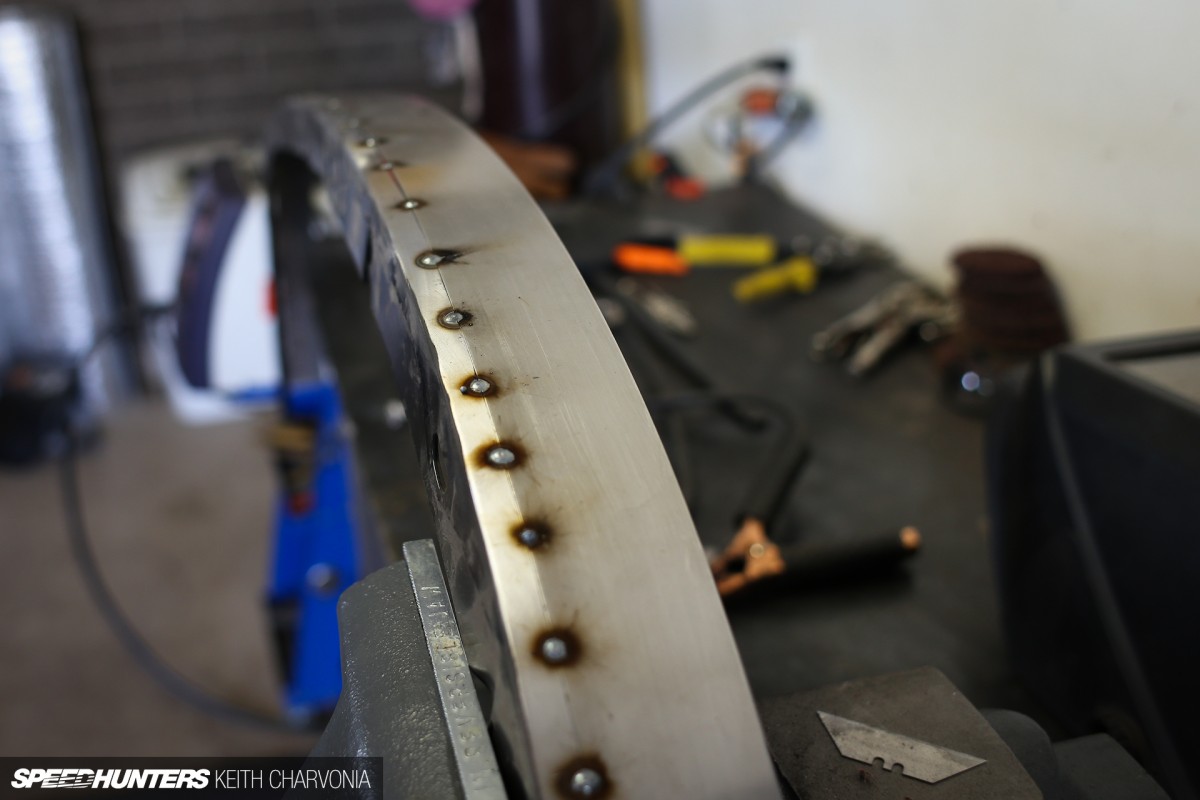
Once it was nicely aligned, I proceeded to add a new weld between each tack.
With Joe’s help, we lined up the other half of the fender and got it tacked together. Much swearing took place, because the fender was just too big and unwieldy to work on loose.

We decided to bolt it back on the truck to make sure it held the correct shape before we did any more welding.
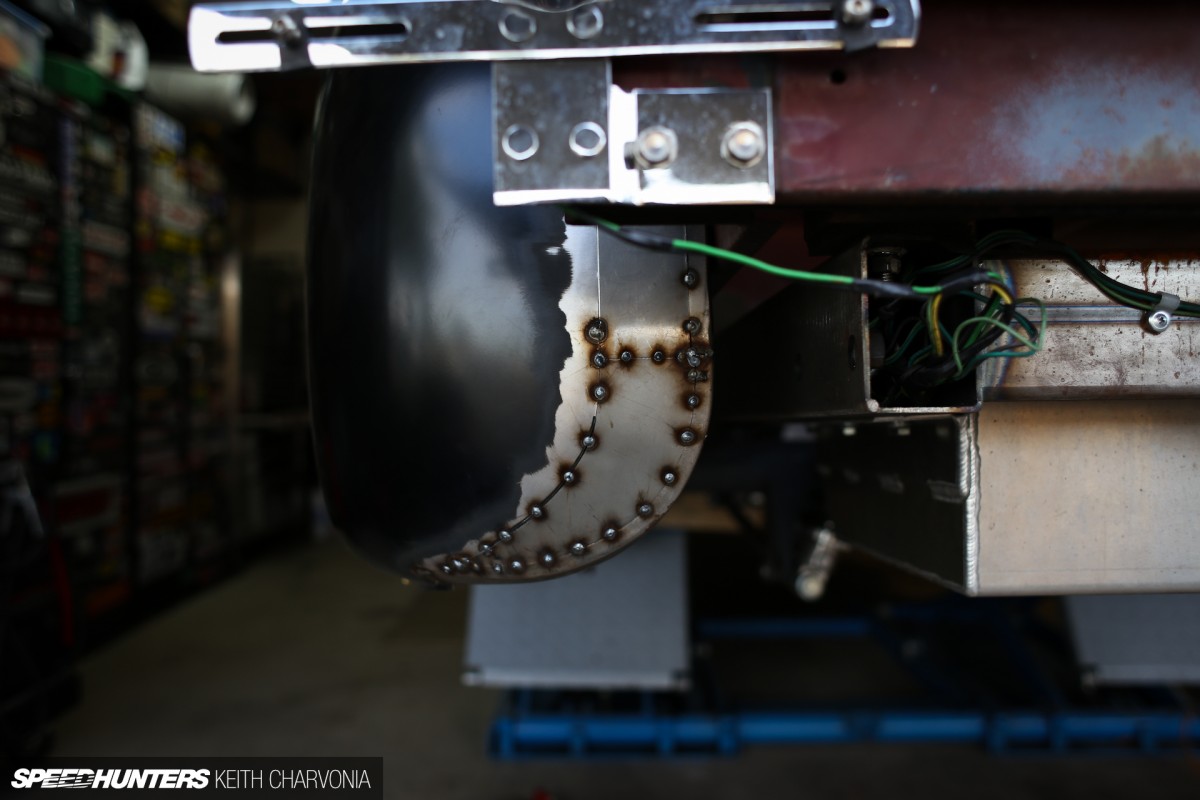
While Joe added more welds, I tackled the more advanced project of rebuilding the fender’s curved back corner.

I got out my shrinker/stretcher tool to make the curved edge. It works by grabbing the material and either bunching it up or spreading it apart, resulting in a curve in either direction. I started with this straight piece of sheetmetal with a bend down the middle.

And I ended up with this curved piece that created a new transition for the rear corner. Yes, that’s the same piece of metal.
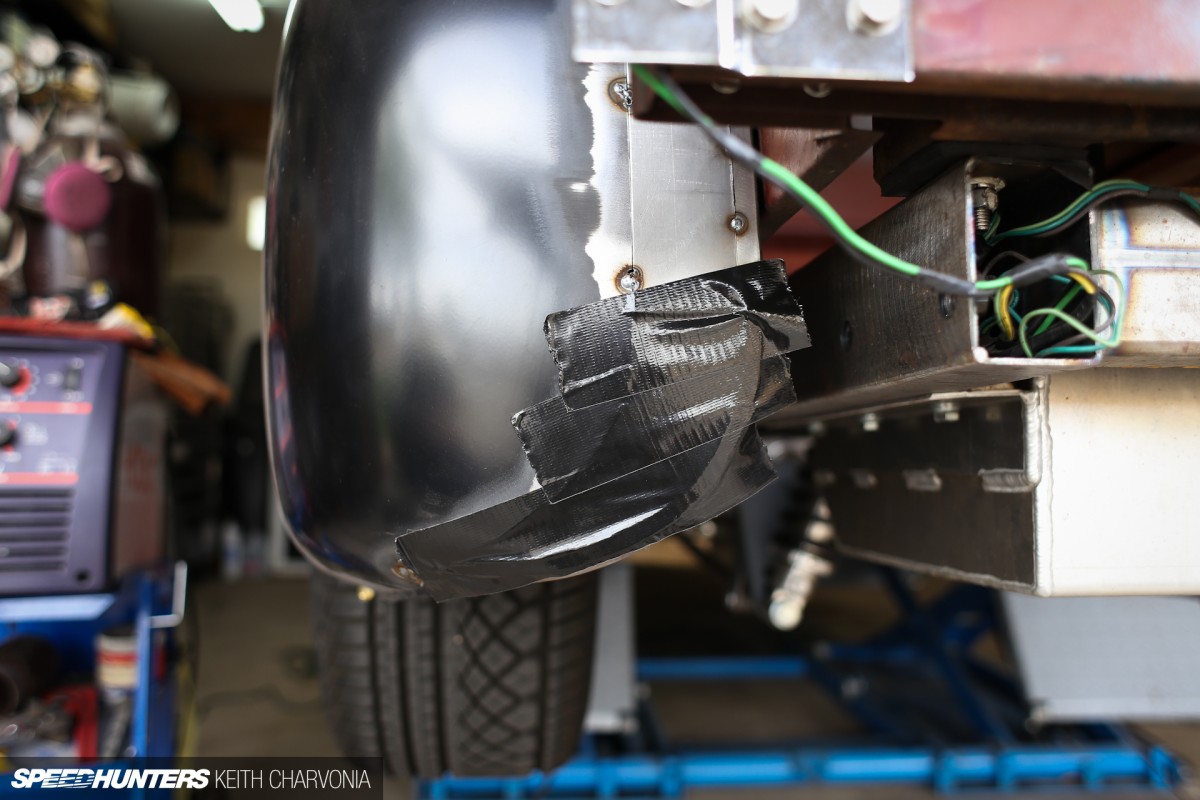
More experienced metalshapers can make this part out of one piece, but without the proper tools, I had to do it in two. A lot of guys make paper templates, but I like to use tape over the hole I’m patching.
Then I just cut it out with a razor blade and transfer it right onto my metal.
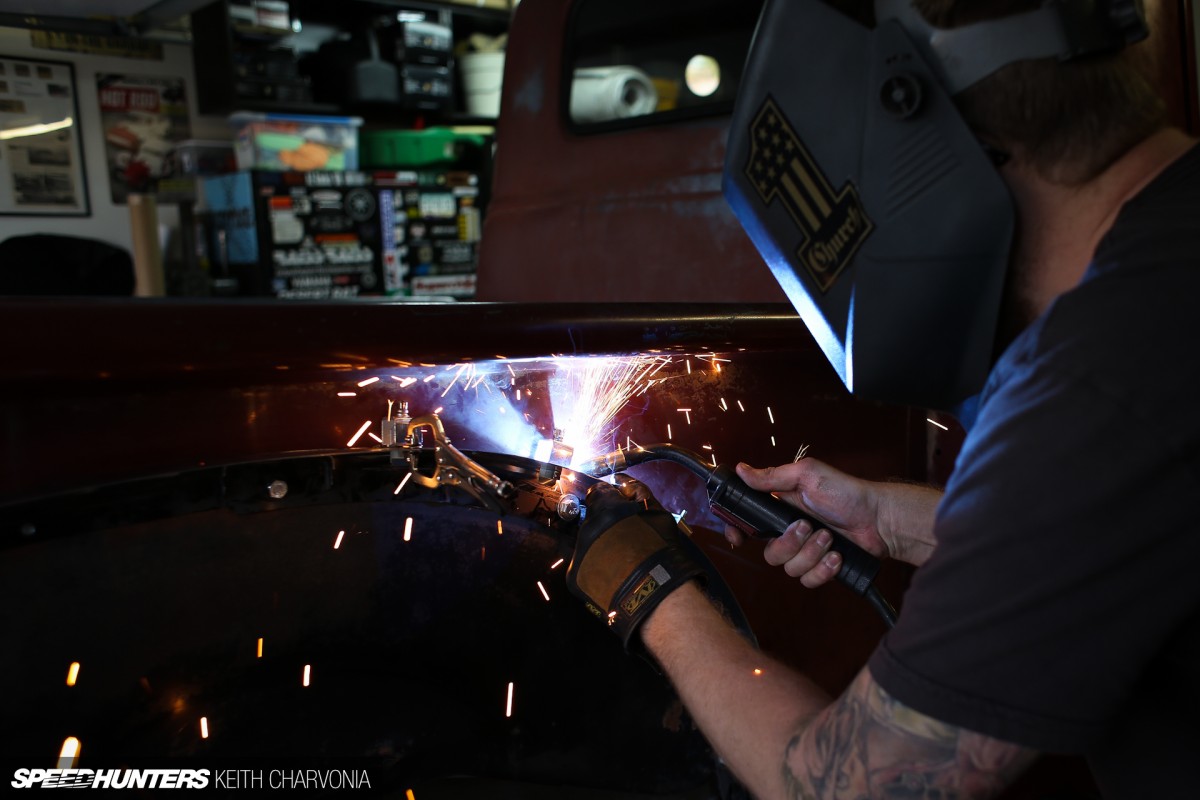
I cut the new part out with tin snips and welded it in place.

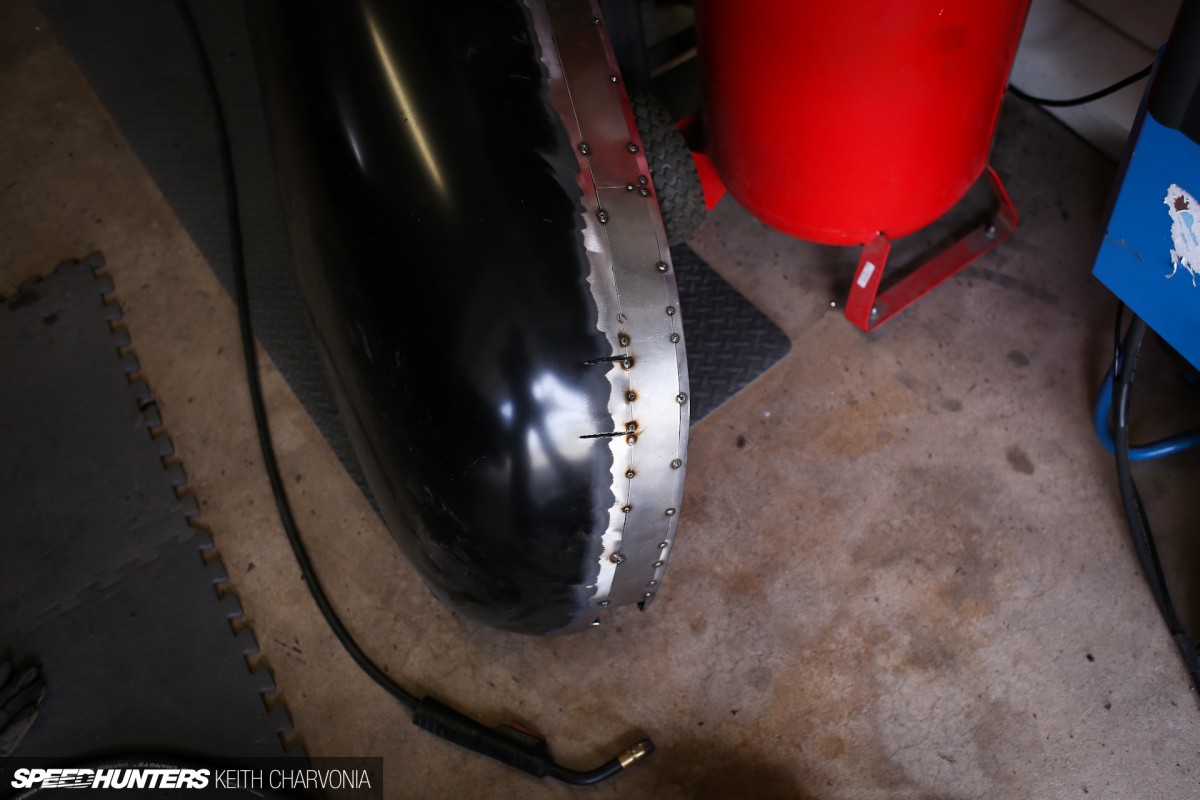
It was a pain to weld the first fender off the truck, so we decided on a different approach for the other side. We followed the same step of removing the fender, grinding off the paint and cutting it in half, then we bolted it back to the truck and used these special welding clamps to align the 2″ wide strip.
Joe got in more welding practice. This is really the best way to learn, because it’s going to take thousands of repetitive welds to make this thing solid.
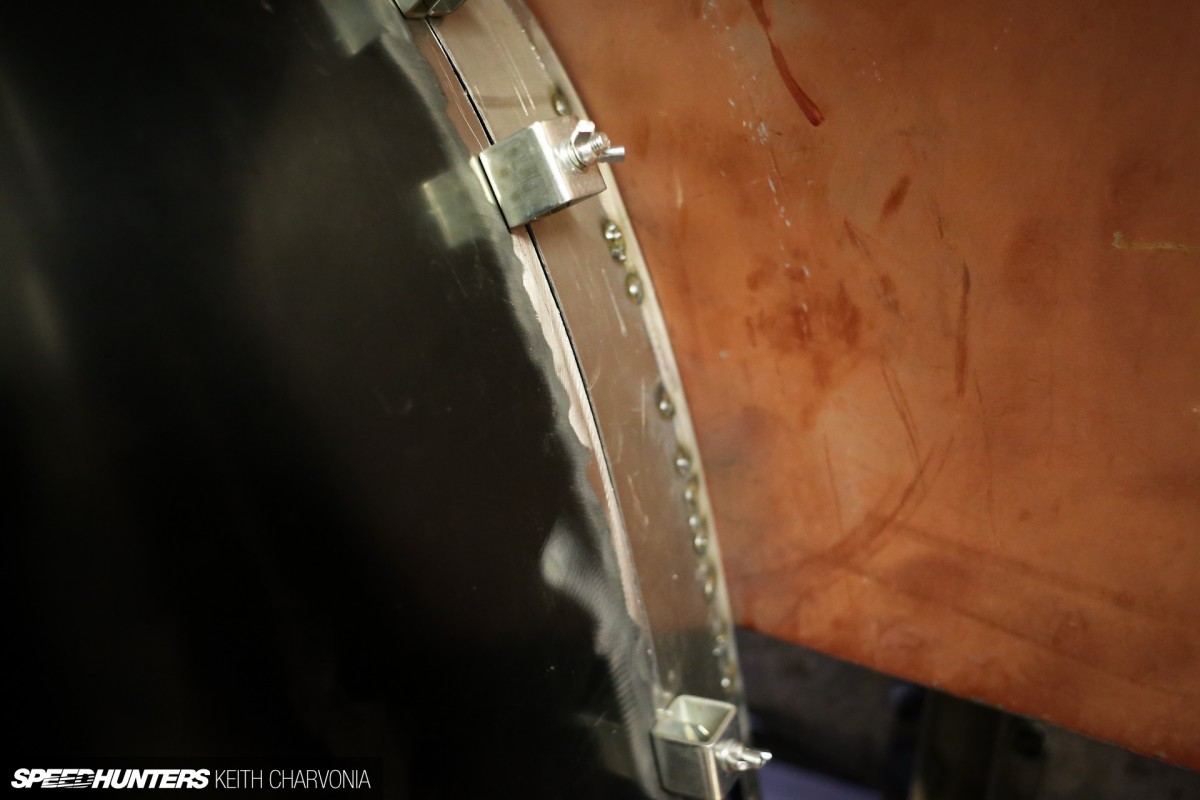
Soon we clamped the outer part of the fender up, aligned it, and welded it on. This method was much easier and required less swearing.
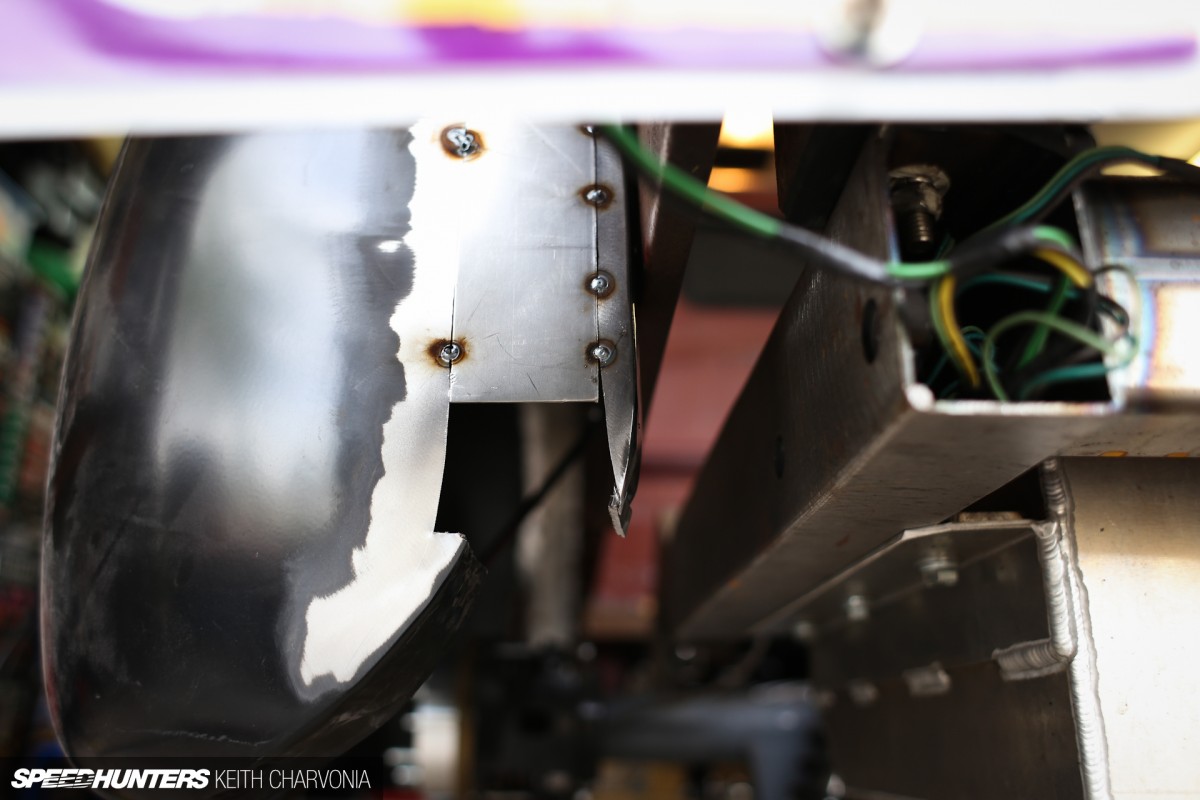
See the holes on those two welds nearest the bedside? Those were too hot and burned through. You can easily fill them as you’re welding, so no big deal.
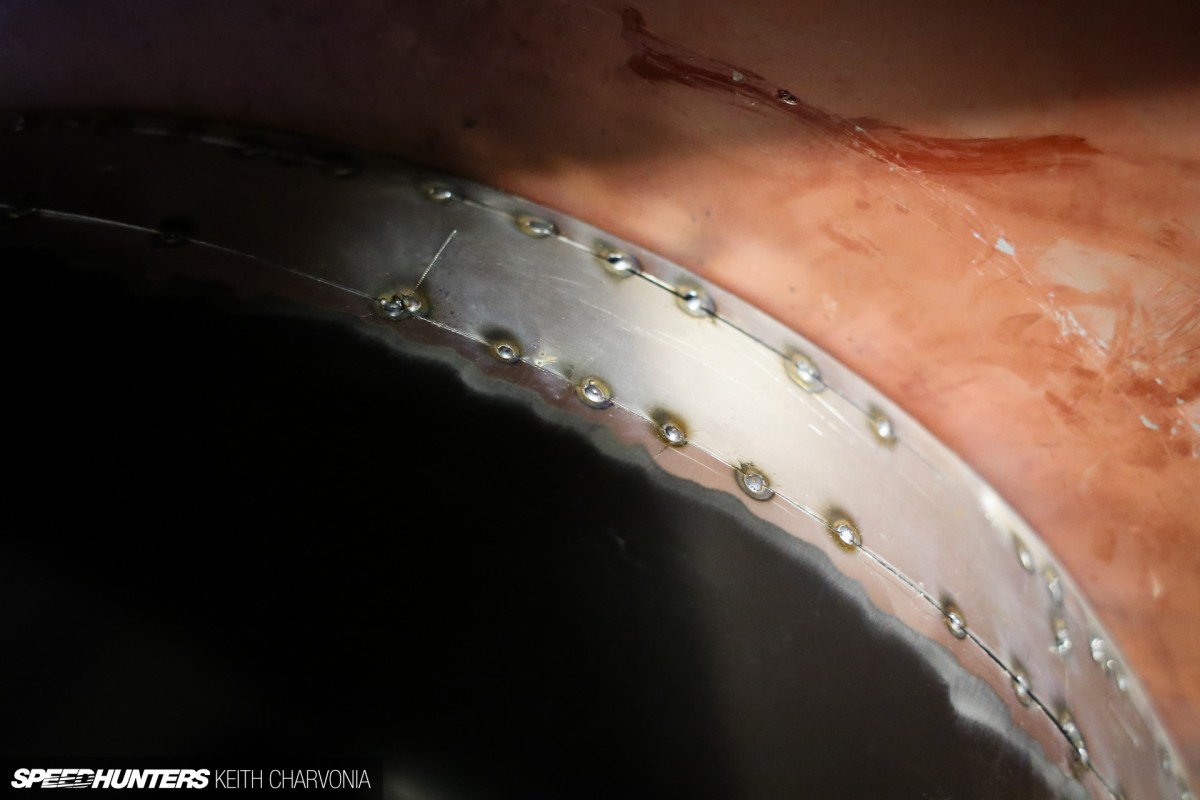
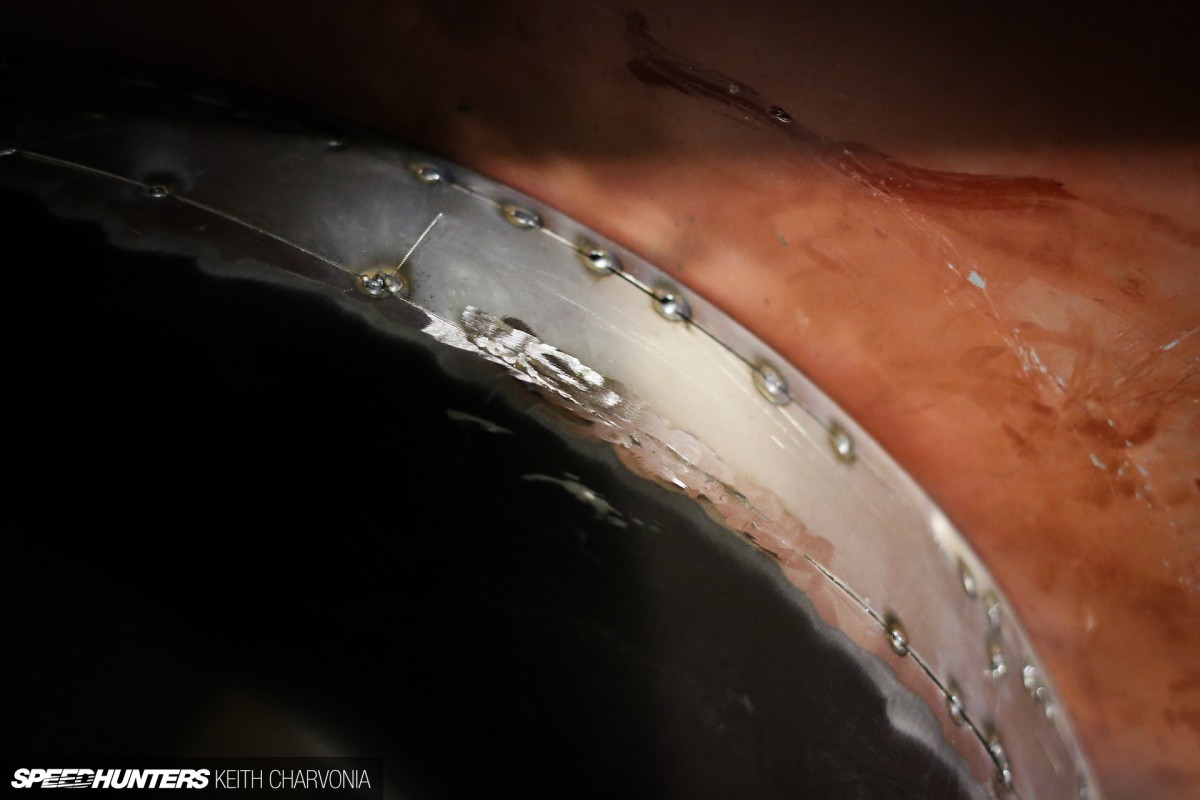
I wanted to finish welding a section and grind it down, just to show the process. To start, I added tacks in between the existing welds, basically narrowing the spacing. Remember to move around so you don’t concentrate too much heat in one spot and warp the panel.
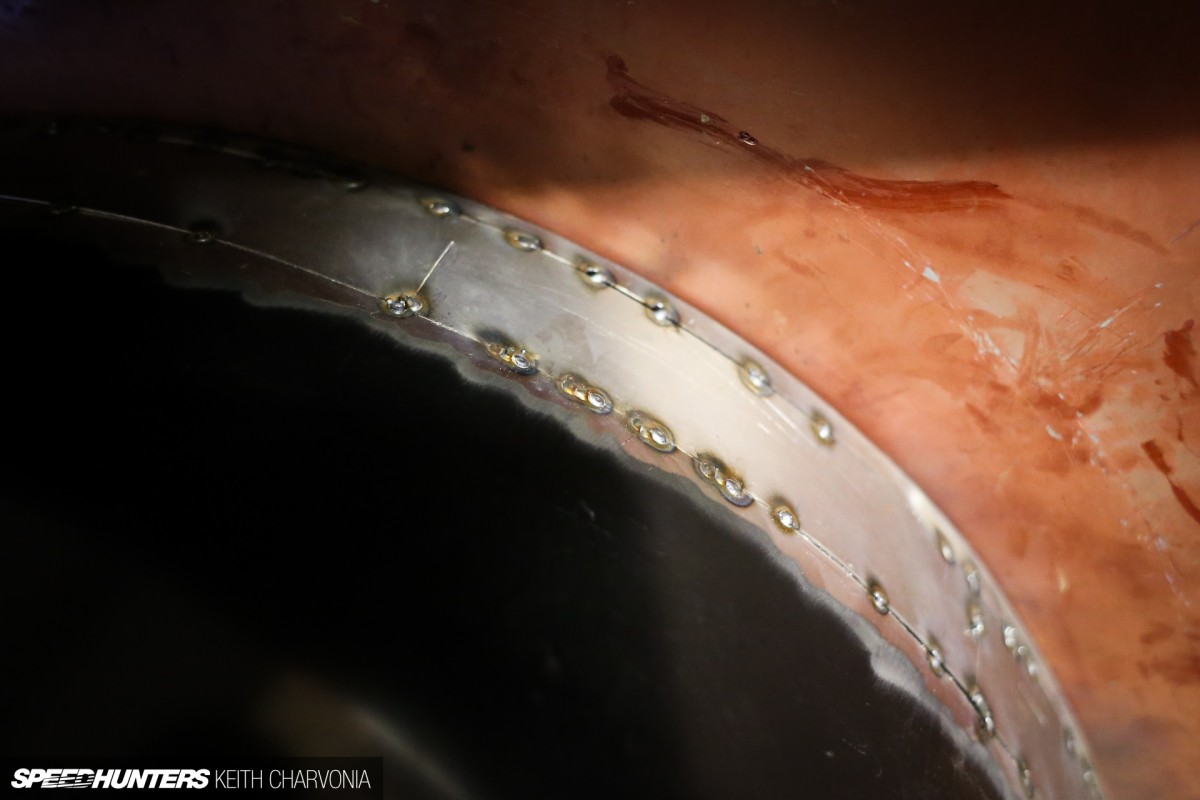
Next I started stacking tacks on top of old tacks, one at a time, and moving from left to right.
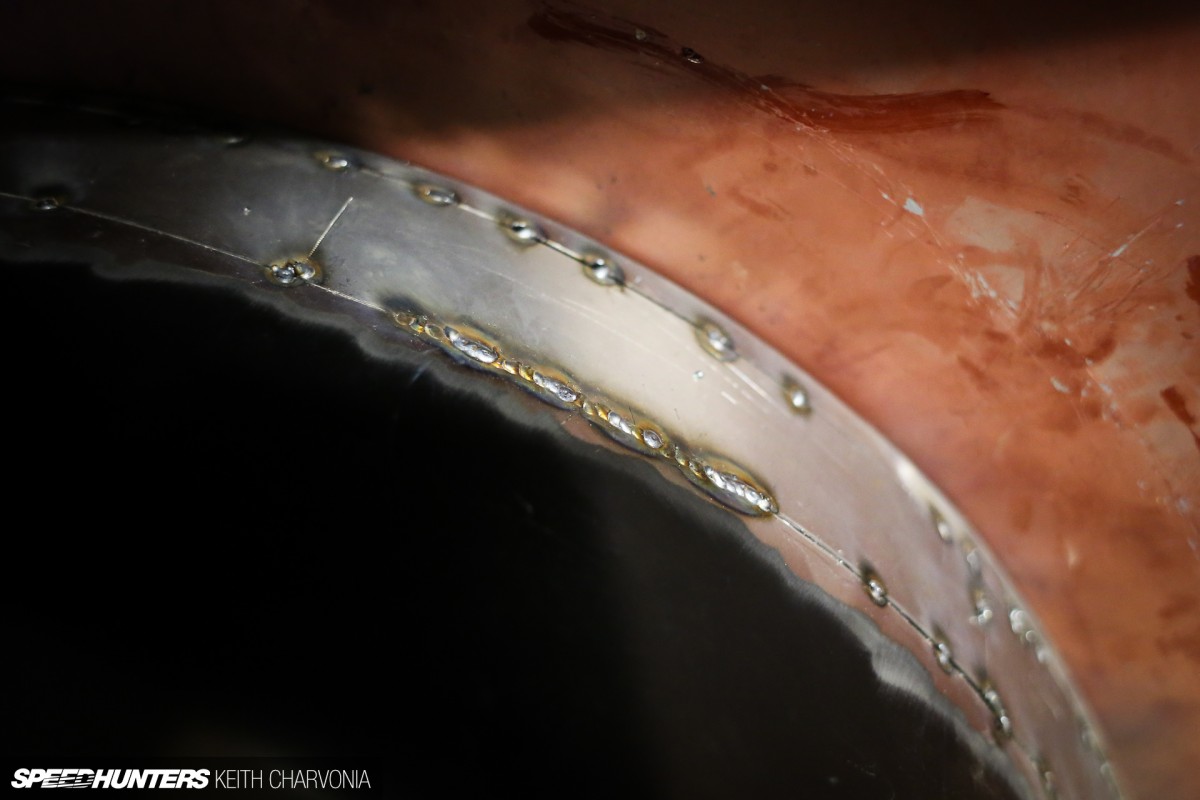
Using this technique I can methodically weld a panel solid without putting too much heat into it, and also ensure there will be no gaps or holes in the metal when I’m done.
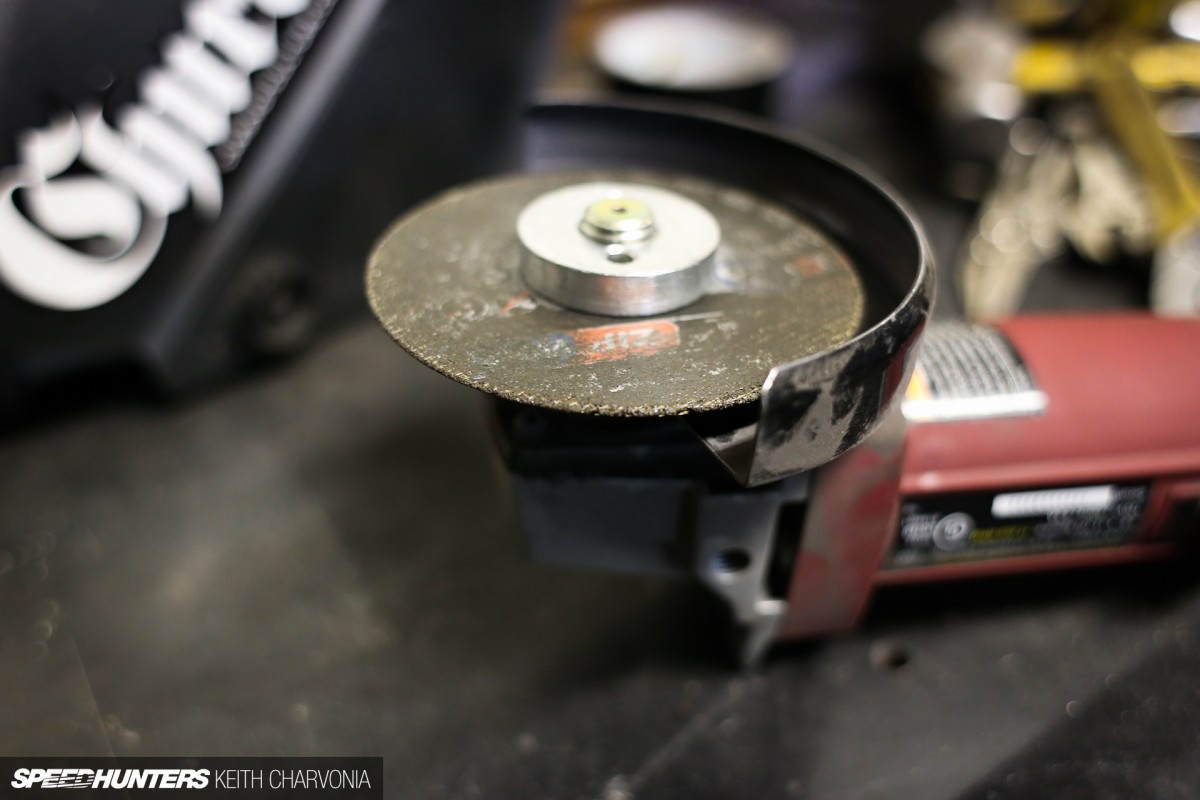
Once it’s welded solid, you just have to grind the weld down flush. I prefer to use a thin cut-off wheel for this, as it seems to be more precise and puts less heat into the panel than a grinding disk.
I carefully ground down the weld, making sure not to grind into the thin sheetmetal around it. Now just do this a hundred times more, for hours or days, and you’ll be ready to spread on some body filler, sand it, prime it, sand it again and paint. Easy!
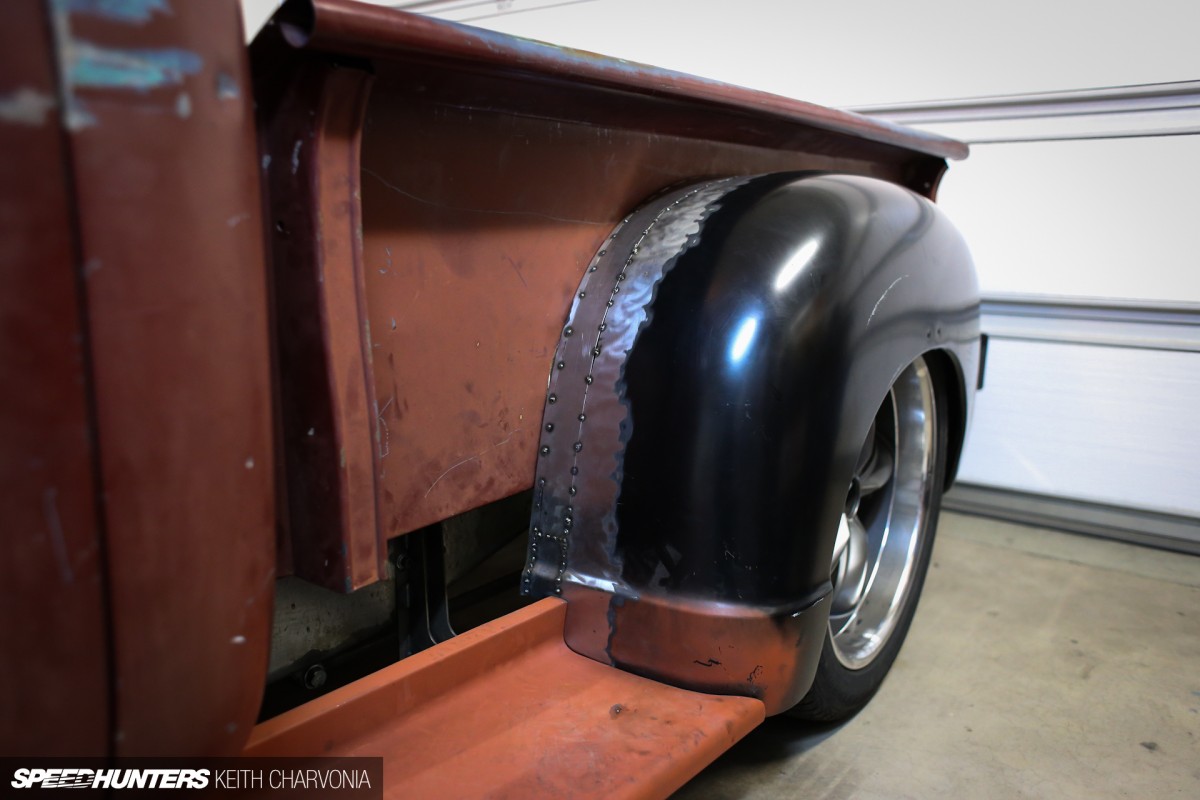
While Joe worked on his welding, I made the small filler piece with the body line for the front of the fender. They still need to be welded solid and ground down before body and paint can begin, but we’ll have to tackle that another day. At least Joe can roll in style now with his all-metal, extended rear fenders!
Keith Charvonia

Không có nhận xét nào:
Đăng nhận xét